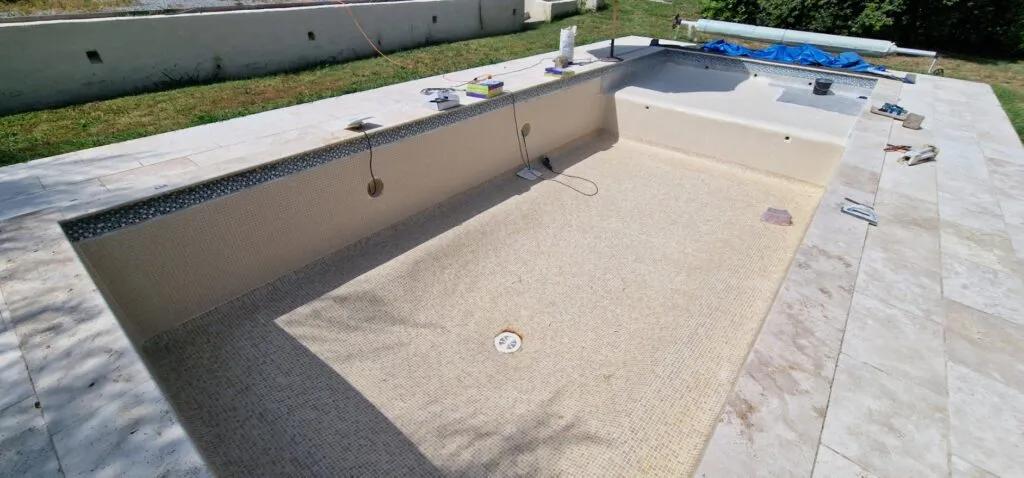
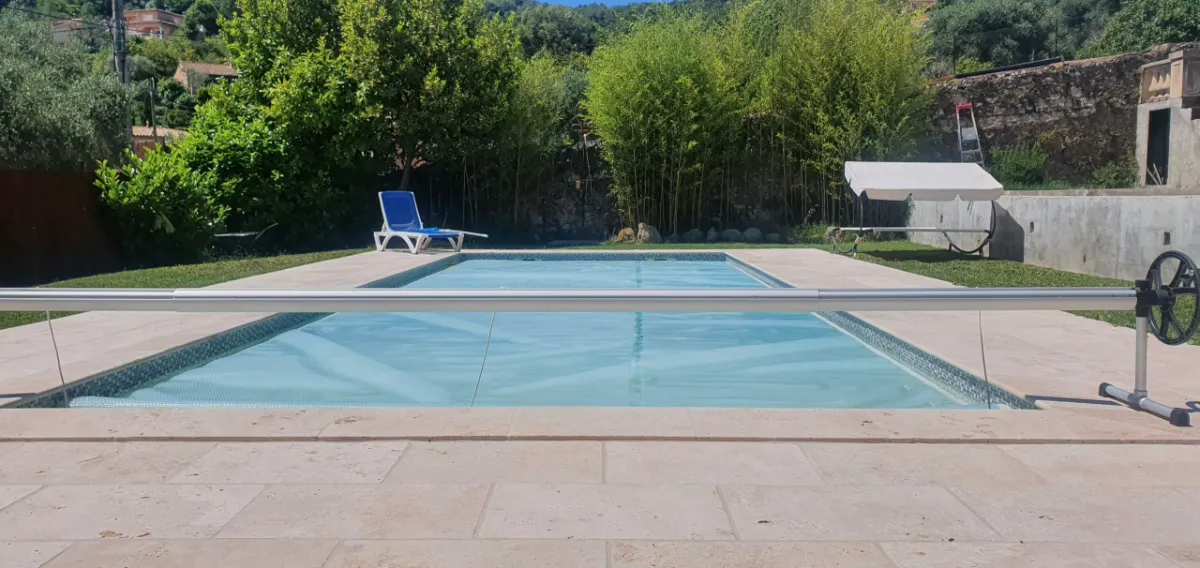
Building a durable, custom-made concrete swimming pool.
Ah! A swimming pool! Quite an adventure, especially when you decide to build it yourself.
Rest assured, the idea took a while to sink in: I weighed the pros and cons and read a lot about the techniques and tools needed for each stage, and above all for each trade involved. There's no shortage of "challenges", as the list is quite long:
- Earthworks
- Masonry
- Steel reinforcement
- Tiling
- Plumbing
- Electrics
- Painting
A pool builder usually brings all these trades together in one, combining the skills of each.
Of course, I first had two or three established companies come round. Their prices quickly cooled my enthusiasm, and I knew that if I wanted a pool, I would have to roll up my sleeves. Their offers were fairly basic and didn't match what I wanted; or rather, the prices that matched what I wanted were beyond my budget, a budget I was struggling to estimate at the time.
Alongside my research, I thought about the impact a pool would have on the land:
- Rerouting the rainwater
- Redoing the drains
- Preparing the land to take the excavated soil
To get an idea of the location, I bought a 4 x 8 m tarpaulin and laid it out within the regulatory limits on the land, to picture where the pool itself would sit.
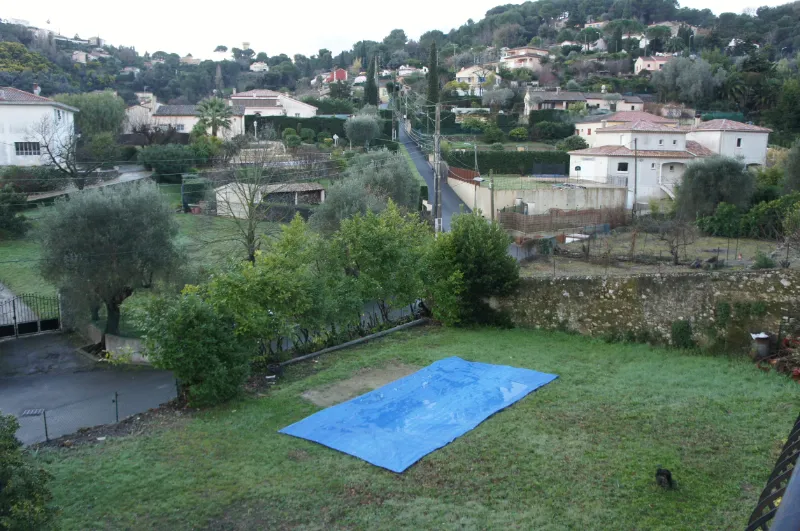
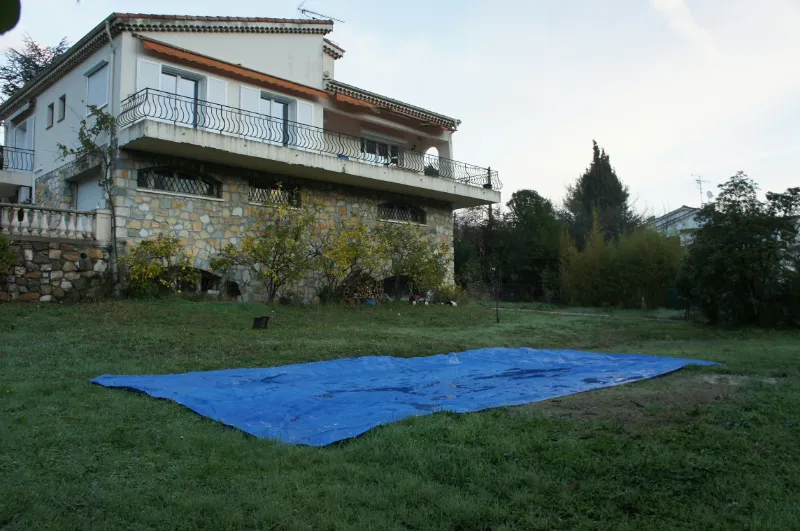
We're now in January 2015. Ideas are flying around, taking shape and falling apart again; in short, it's a whirlwind. The land needs reshaping, but I already have a little idea of how to combine the practical with the pleasant.
Preparation
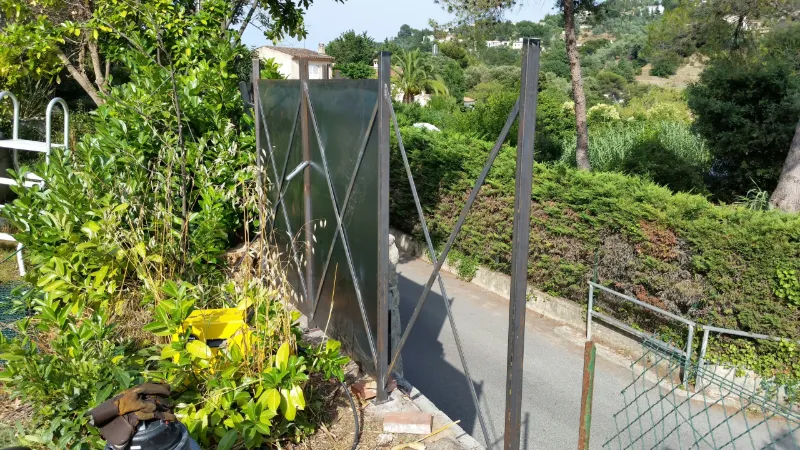
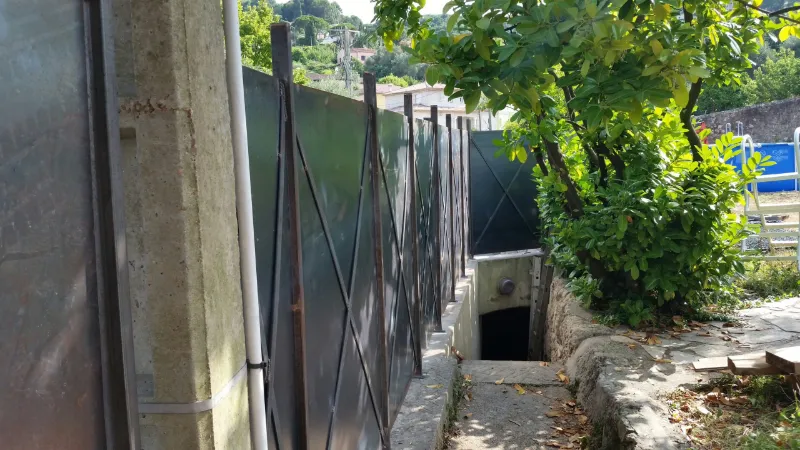
At the very start, we decided to put up a solid fence along the edge of the property to replace the ageing wire fence and give us a bit more privacy.
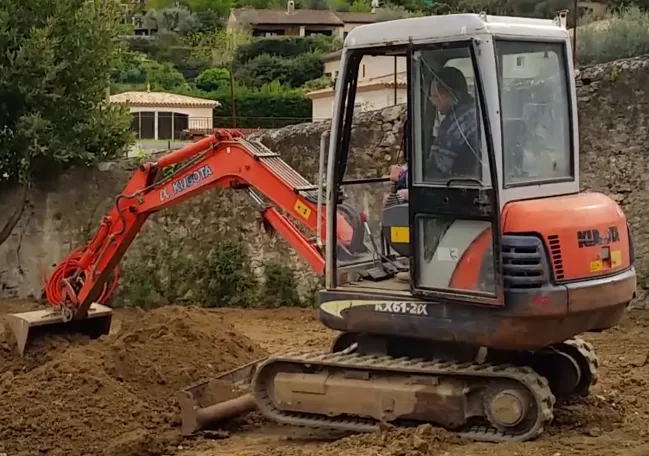
Ah, one important thing about tools: I was very lucky to have a neighbour who had finished landscaping his property with his mini excavator and was looking to sell it. After thinking about the work I had to do and the cost of renting this kind of machine, it became obvious that buying one would be a real game changer. So I bought this Kubota KX061-2α mini excavator, "a marvel".
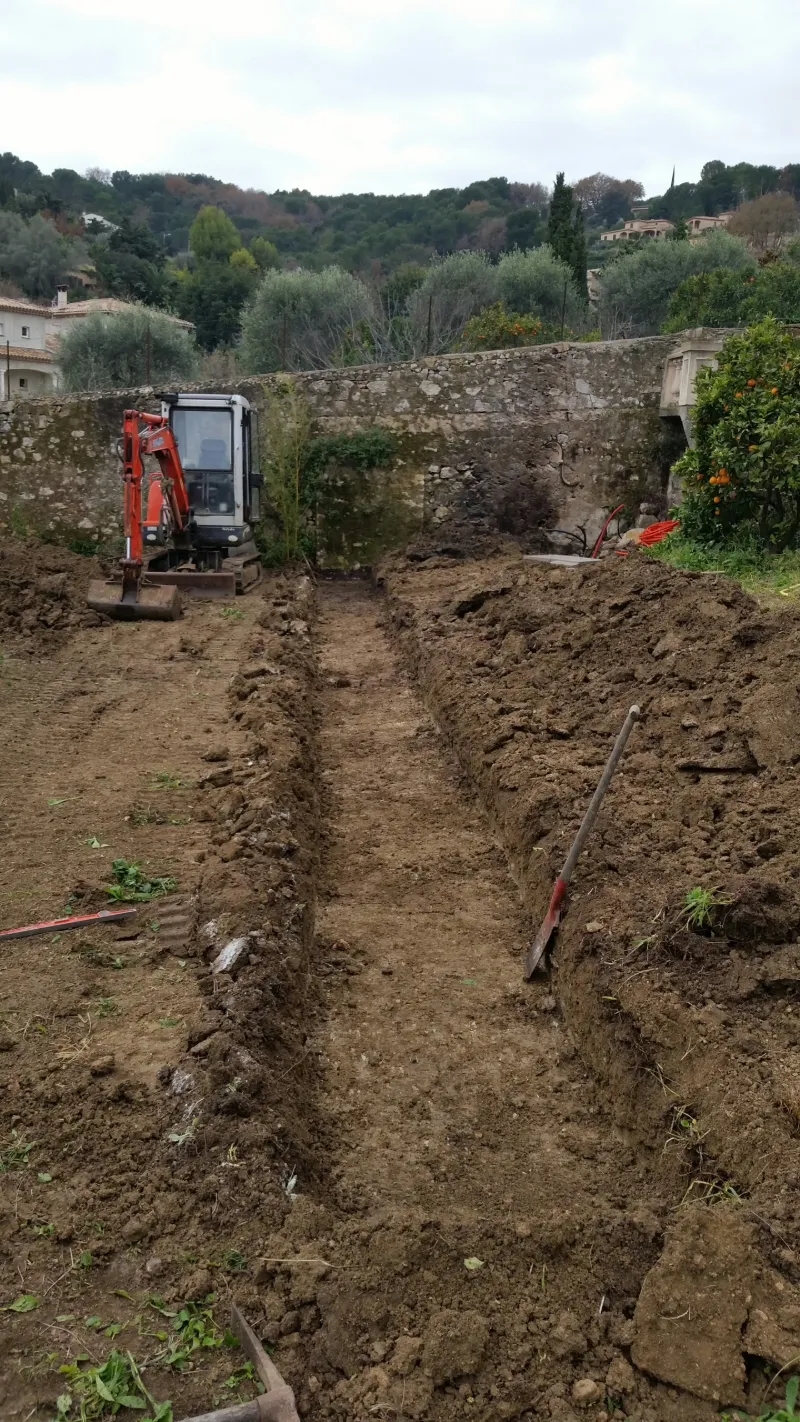
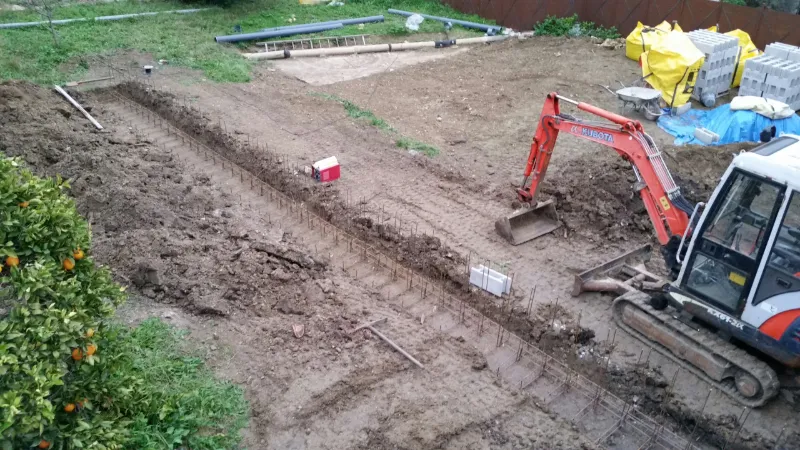
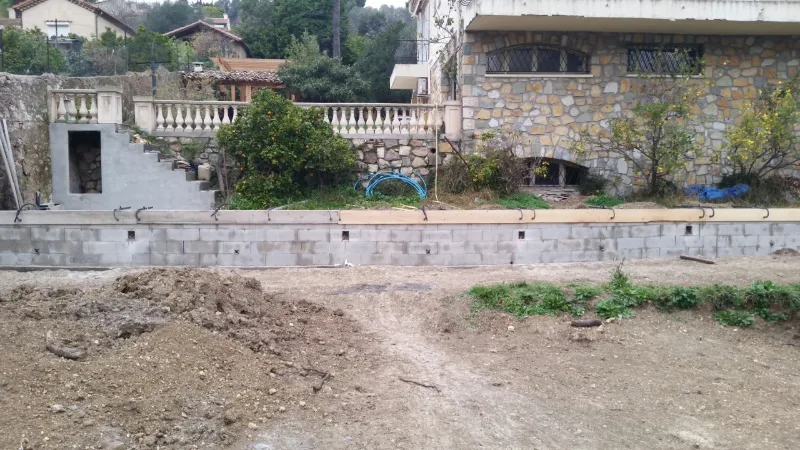
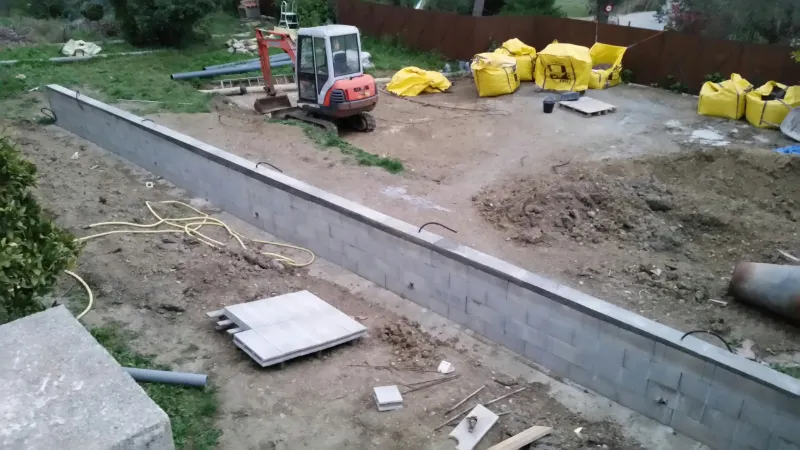
After sorting out the drains, I started building the retaining wall for the terrace of the future pétanque court. For more detail, I wrote a separate post here (in French).
At the same time, the planning application for the pool was submitted to the town hall. Yes, let's not forget the legal side!
Next, I had to rework the rainwater pipe that crosses the land from top to bottom, for the times when, unfortunately, the roadside gutters can no longer cope.
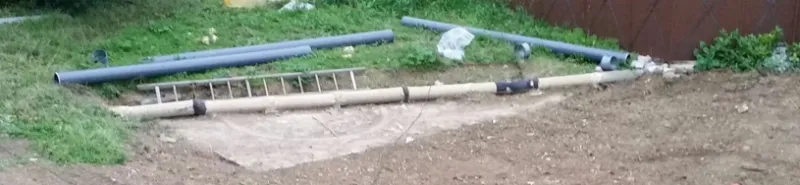
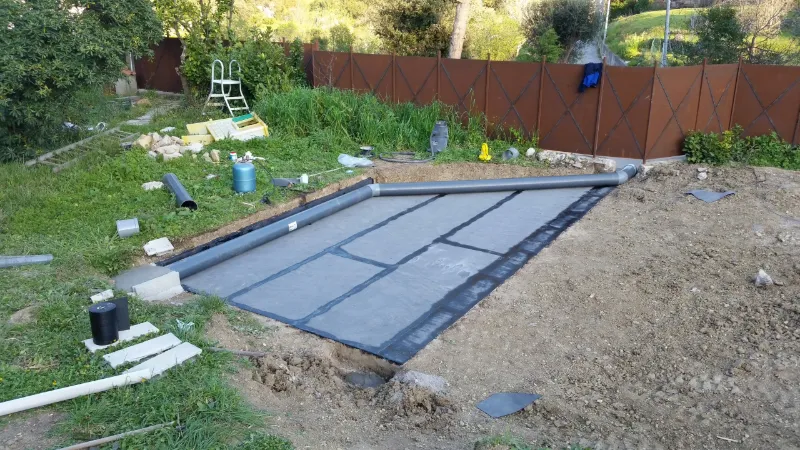
While I was at it, redoing the waterproofing of the underground garage roof was the natural thing to do. The pipe was deliberately rerouted to free up space, so the pool's sun shelf could be built resting on the garage roof.
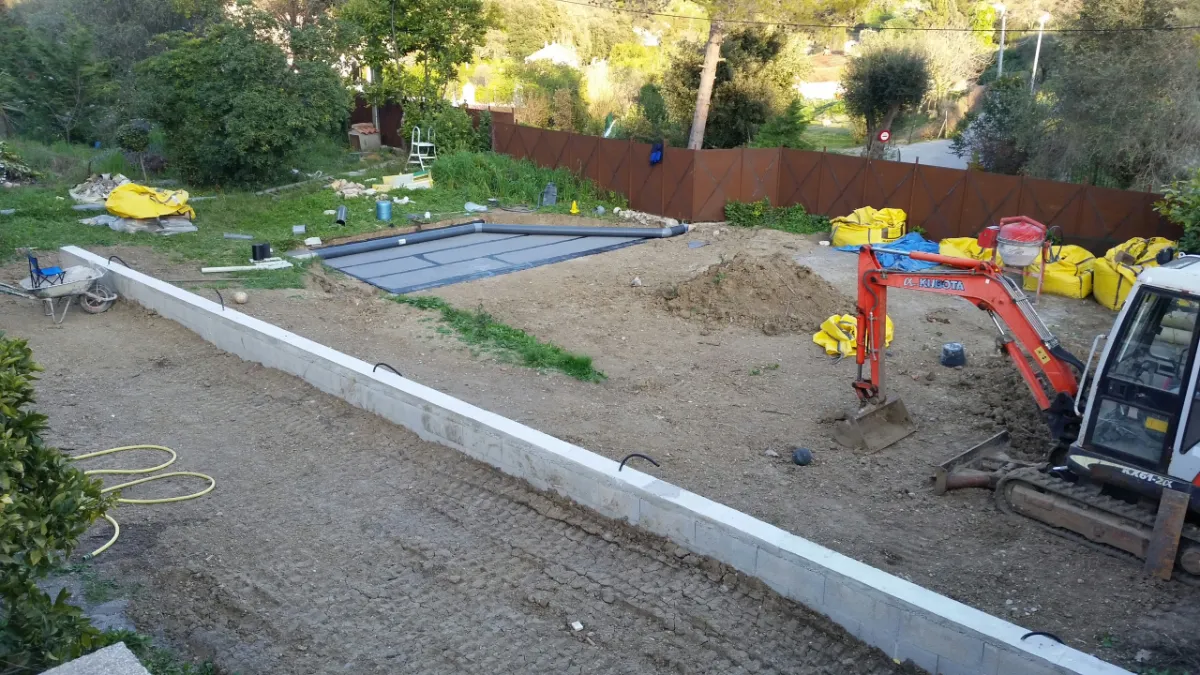
Levelling the land made it possible to partly fill the pétanque terrace and to work on flat ground ahead of excavating the pool.
As the reply from the town hall was slow to come, I made an appointment to understand what was holding things up, if anything. Apparently nothing was really blocking it, but it gave me the chance to explain my project and the different techniques I wanted to use. This must have paid off, because shortly afterwards I received my file with a favourable decision.
Excavation
At this stage, I received great help from the sound advice of Mr Roger Meslier; without him, I think the build would certainly have been much more complicated. I still remember his words: "Serge, if you want everything in your build to be right, you need a 'zero point', a 'point of origin'. All your measurements will start from that point." That struck a chord with me, because in 3D modelling you also have this point of origin. So I set my zero point at the right height, and everything started from there.
April 2016: excavation begins.
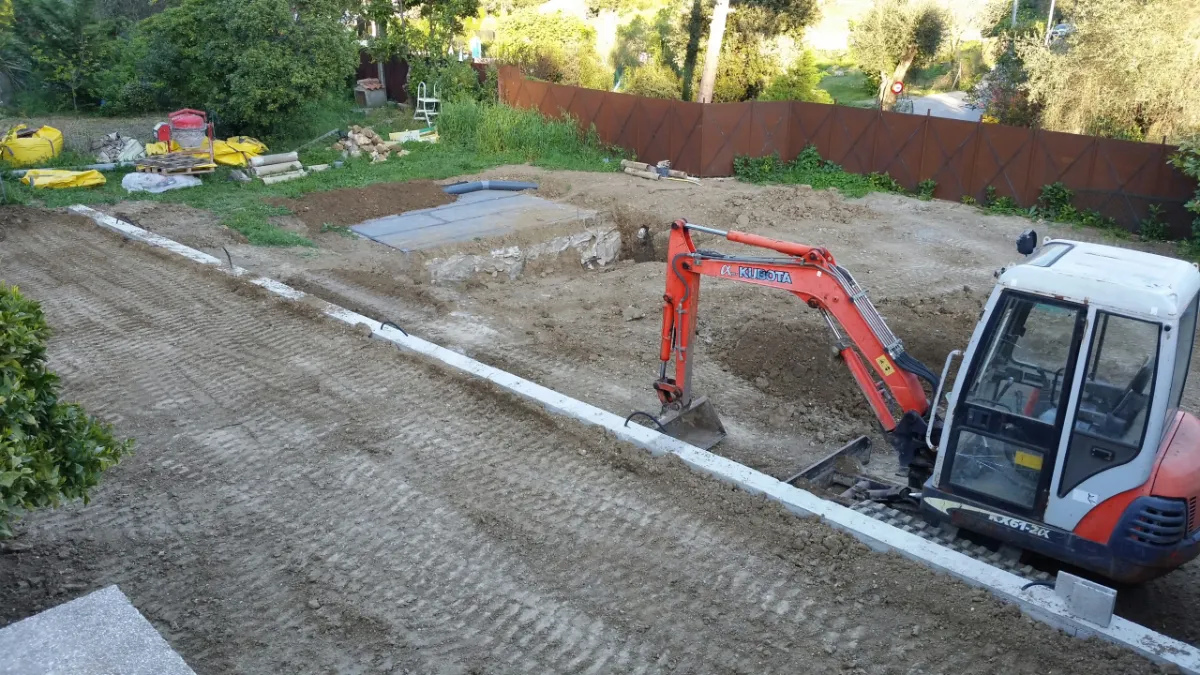
What an adventure! When you do this kind of thing for the first time, you think the volume of soil won't be that big. I wasn't even a quarter of the way into the pool hole and the pétanque terrace was already full. Never mind! I started storing the soil on the rest of the land, knowing I would later have to bring it back around the finished pool.
This is the gym: no need to pay for a subscription at "fit-something", at "fit-wheelbarrow" it's free! I became the champion of filling wheelbarrows with the bucket: one bucket, one wheelbarrow, and back and forth.
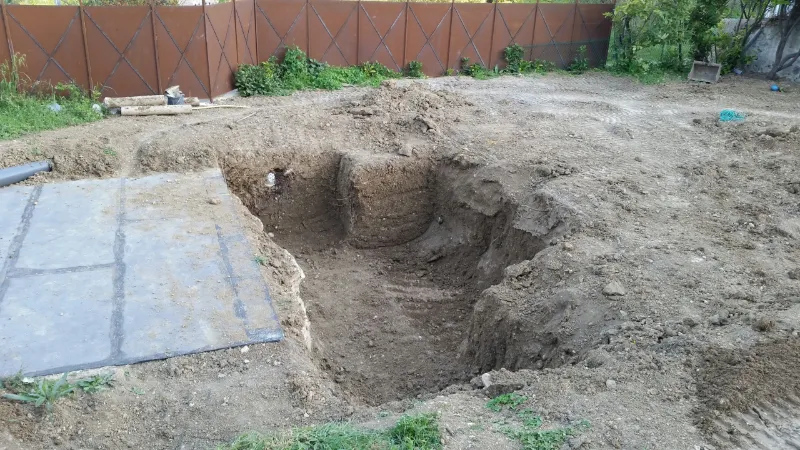
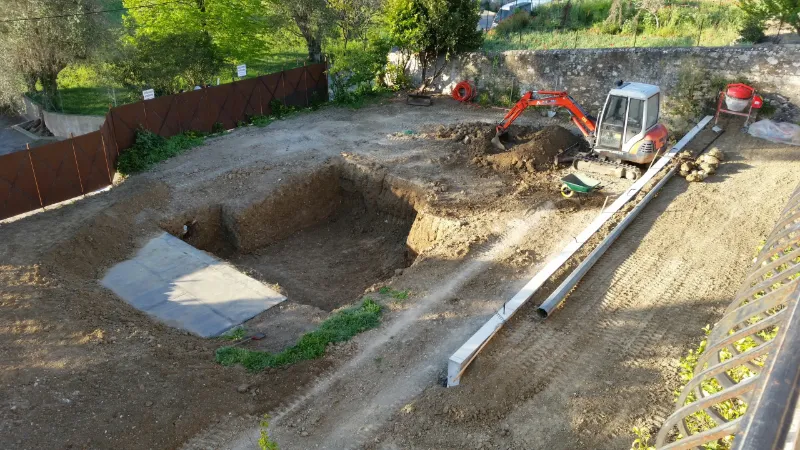
On the whole, everything went smoothly. I dug out a few stones but, fortunately, never hit any rock.
The gravel base
Once the hole was finished and at the right dimensions (so wider than the pool, still measured from the famous zero point), it was time for the gravel.
Road gravel is a magic material that guarantees stability thanks to its composition, ranging from dust to small stones, especially if you want to shape the bottom of your pool. That was my case, because my dear wife really wanted a pool where she could do aqua aerobics and stand all the way round. So I had to shape the bottom.
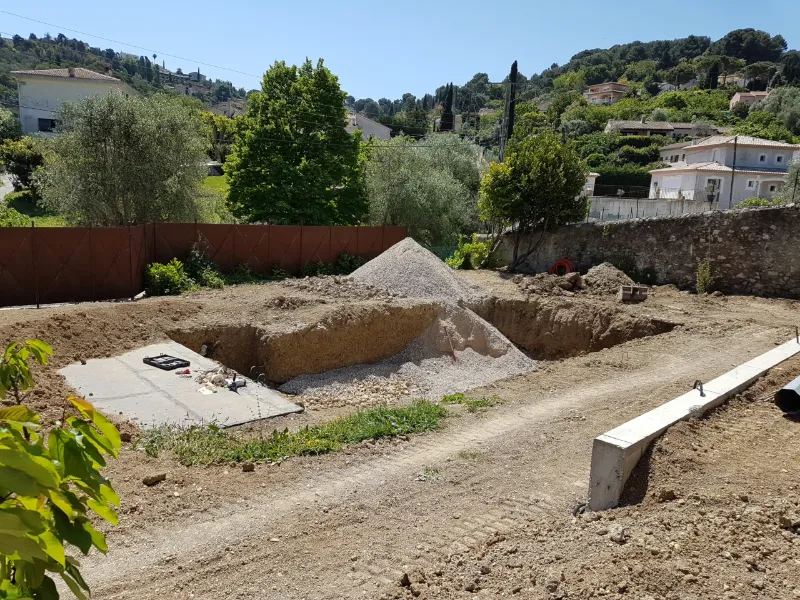
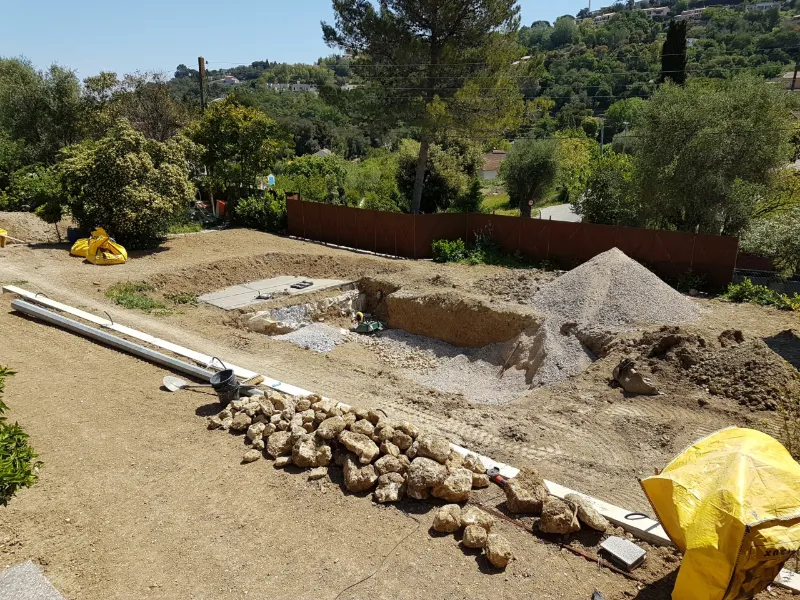
And off we go! I rented a small tipper truck and headed for the quarry, luckily only 4 to 5 km from the house.
I had deliberately left the fence unfinished so I could park the truck against the wall below the land and unload the gravel with the mini excavator.
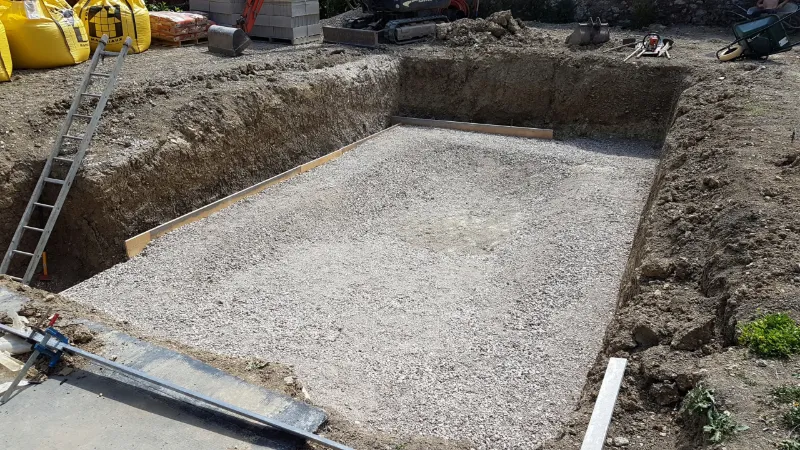
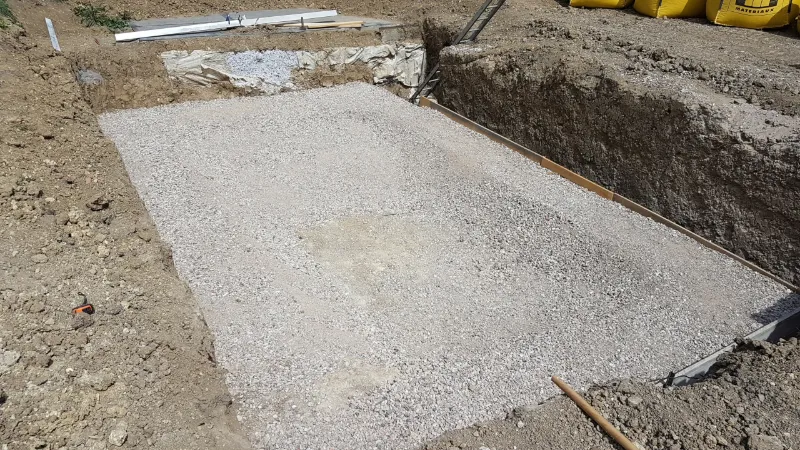
Right! After a few strokes of the shovel and the rake (many, many!), it was done: I had the shape I wanted, my levels were right, the width of the steps was correct and the slopes towards the deep end were in place too.
At this stage, there's the satisfaction of having partly finished the excavation. We'll move more soil later, but now we can switch to something else.
Masonry
The blinding layer
To do things properly, especially when you opt for "permanent formwork", it's important to build the formwork walls on something level that can properly support what comes next.
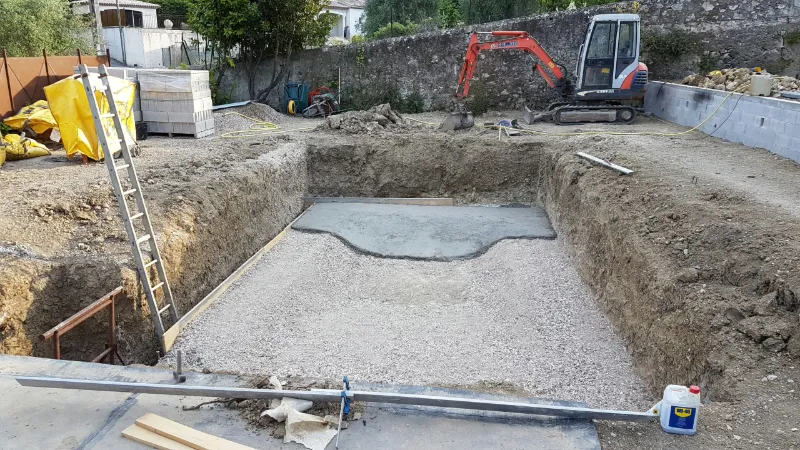
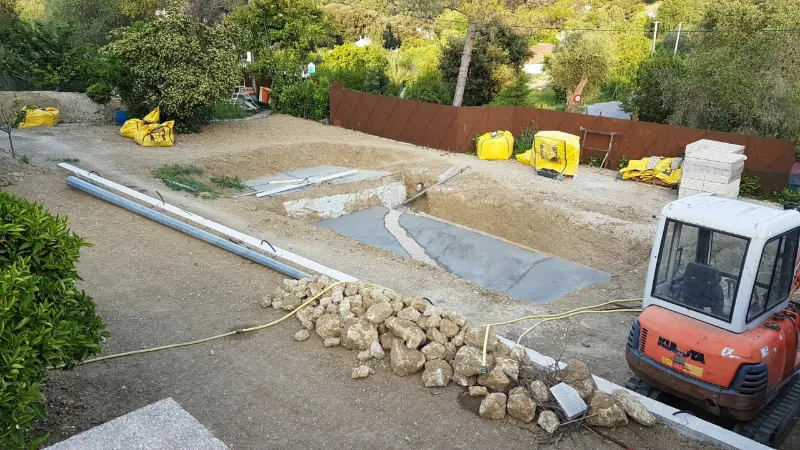
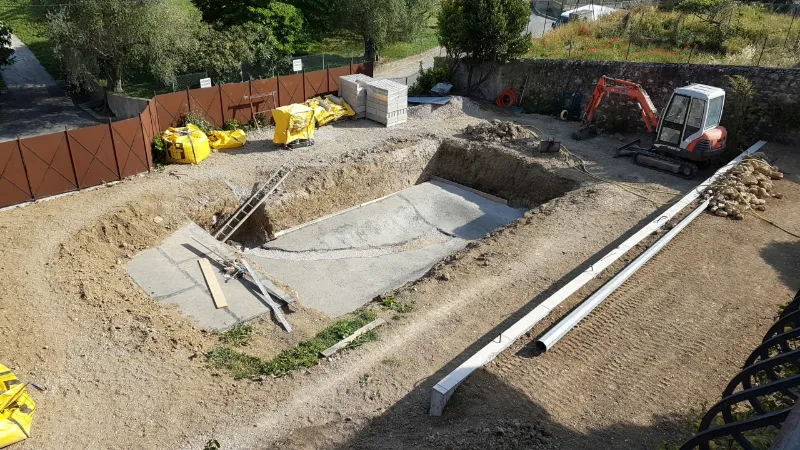
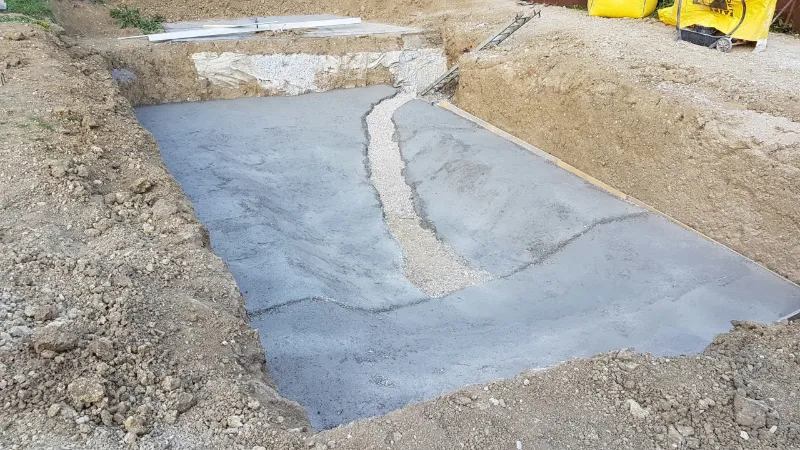
Important: the recess you can see in the photos above is there to take the main drain pipe.
The permanent formwork
As its name suggests, permanent formwork can't be reused on another job, but it serves several purposes. The first, of course, is to form a wall for pouring the concrete. The second is to provide extra width, giving the coping stones a better base, but we'll see that later.
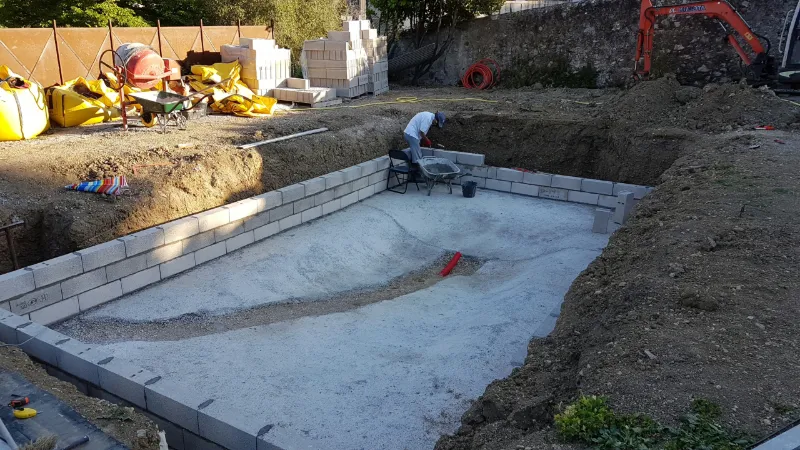
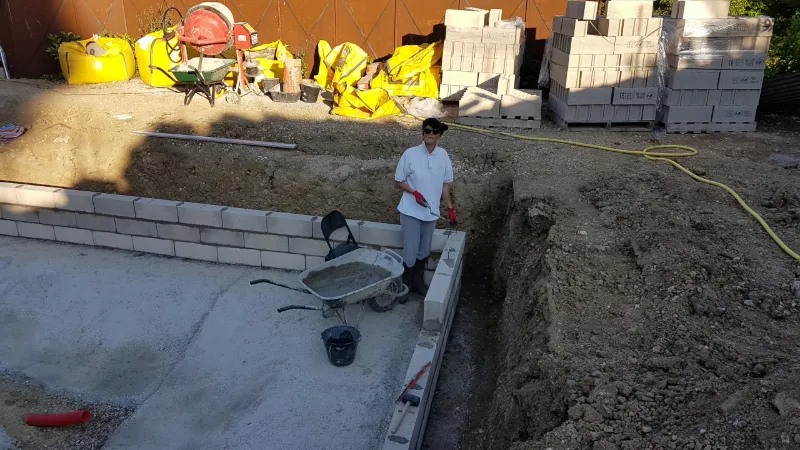
Little helping hands are welcome! The walls are going up.
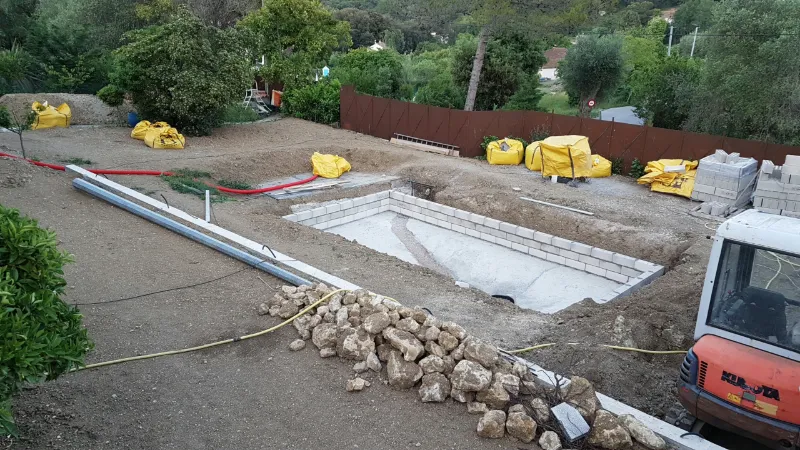
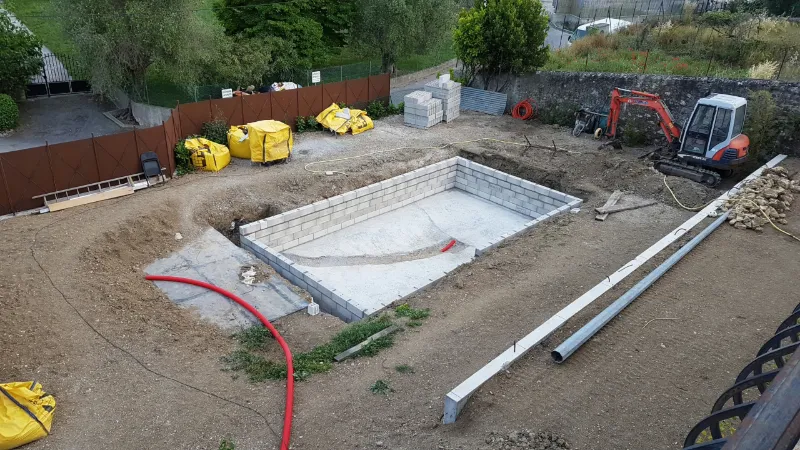
And up again!
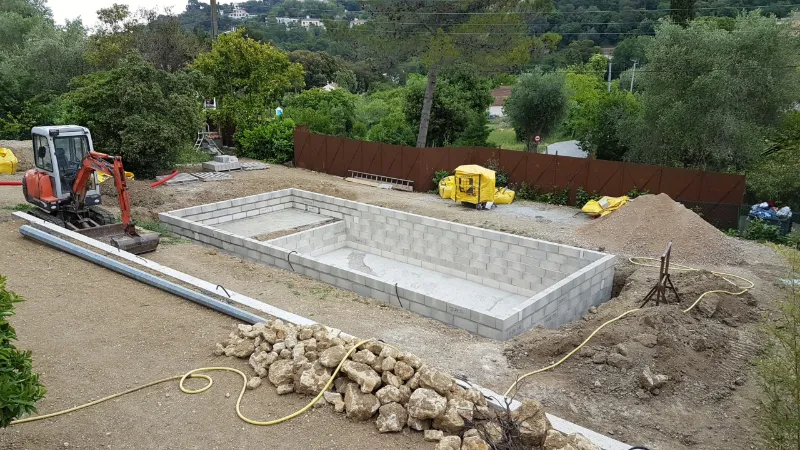
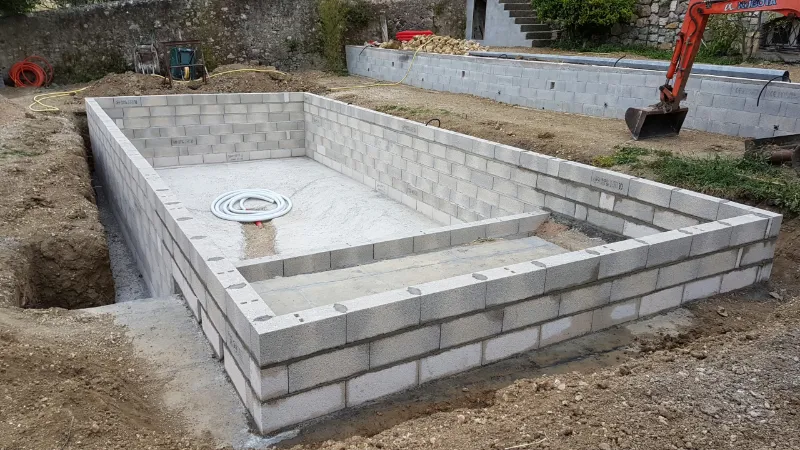
There we go! Another stage completed. Now you can really start to see the pool, or at least its final shape. This was also when I chose to run the flexible PVC pipe through its protective sleeve and close the recess left in the blinding layer.
Steel reinforcement
The steel reinforcement was the longest and most tedious stage of the build. It took technique, home-made tools such as a tripod adapted for bending the rebar, and above all the right movements. It's not easy at first and the results aren't very pretty, but you soon get the knack, find your bearings, and the work becomes simpler and more precise. Here again, thanks to Roger's advice, the ring beam, the reinforcement mats and the bar sizes to use were all simplified, except that bending 10 and 12 mm bars was no picnic.
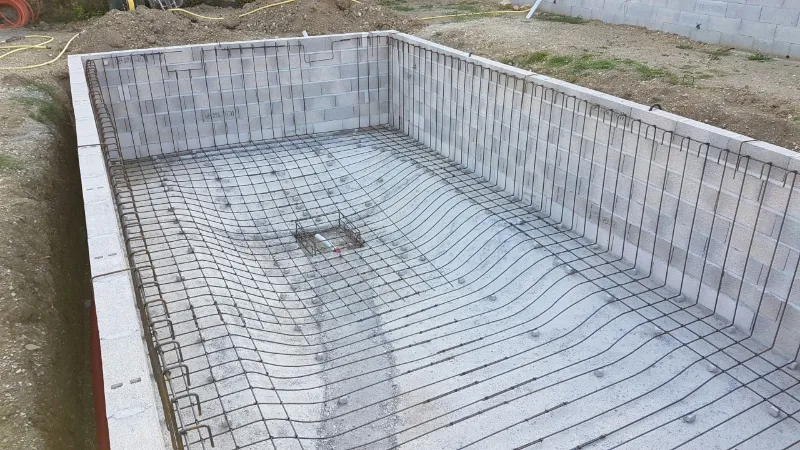
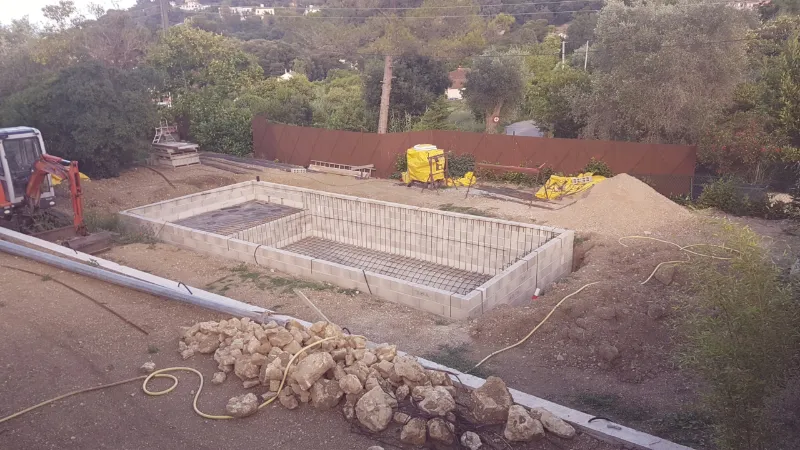
The start is a bit messy, and then things take shape.
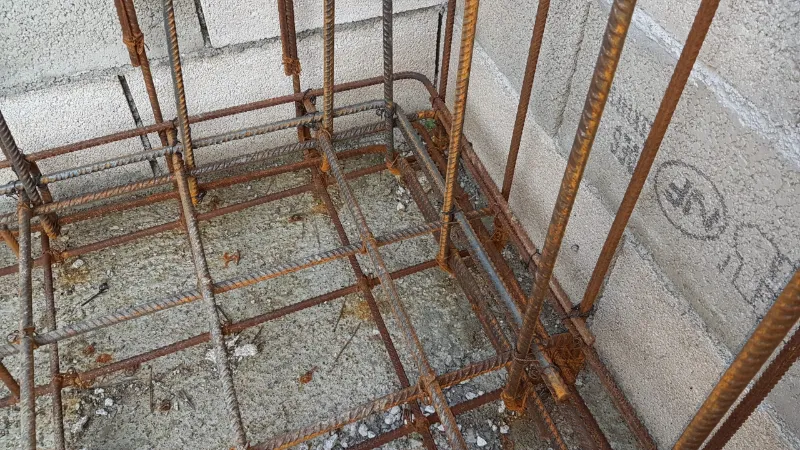
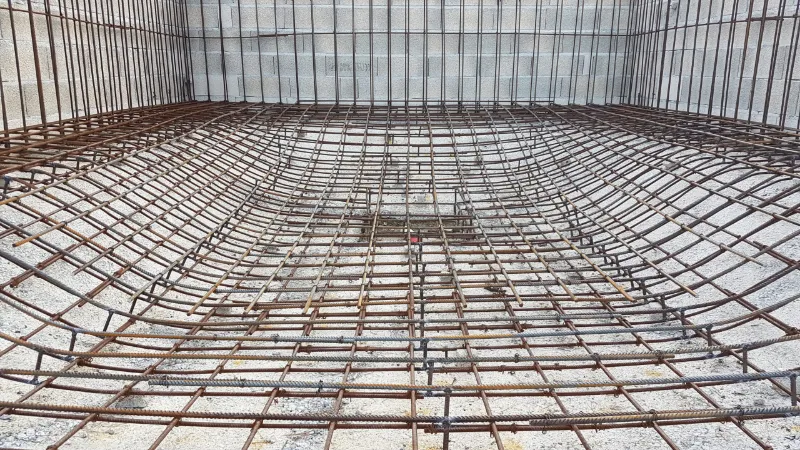
Until you end up with a double reinforcement mat, pre-shaped to follow the bottom and held up on spacers. The two mats are separated by welded vertical bars that keep them at the right distance, in this case 10 cm.
Of course, the mats follow the whole shape, including the sun shelf.
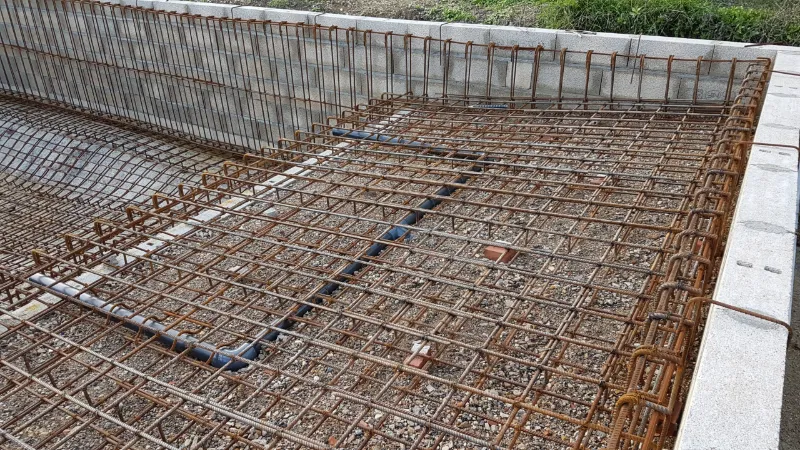
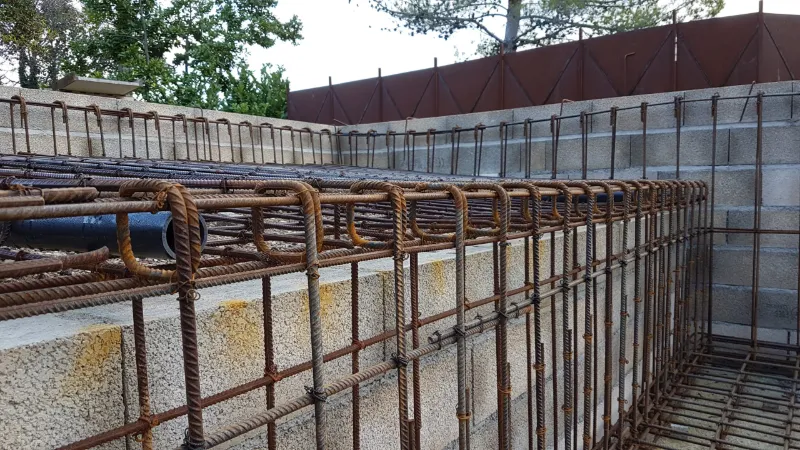
With the mats and their upstands now finished, I chose to add 20 x 20 welded mesh on the walls, plus expanded metal lath (Nerlat).
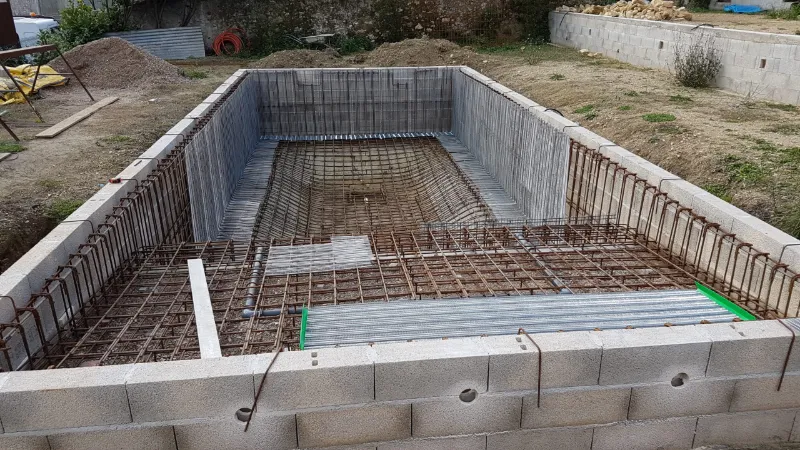
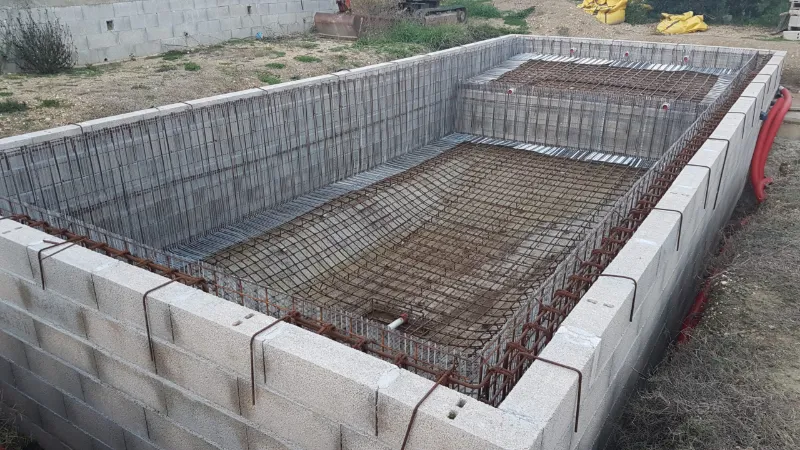
The expanded metal lath wasn't one of my best ideas, I admit it now. The long sides had to be heavily braced with timber and steel props, because concrete is heavy.
Pouring the concrete
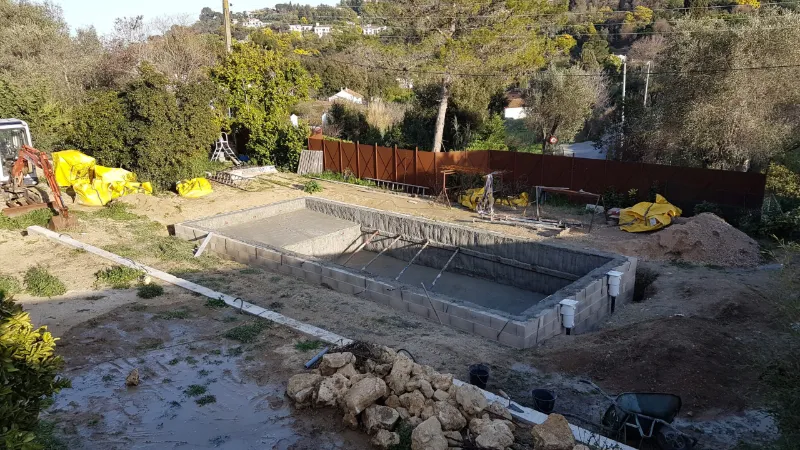
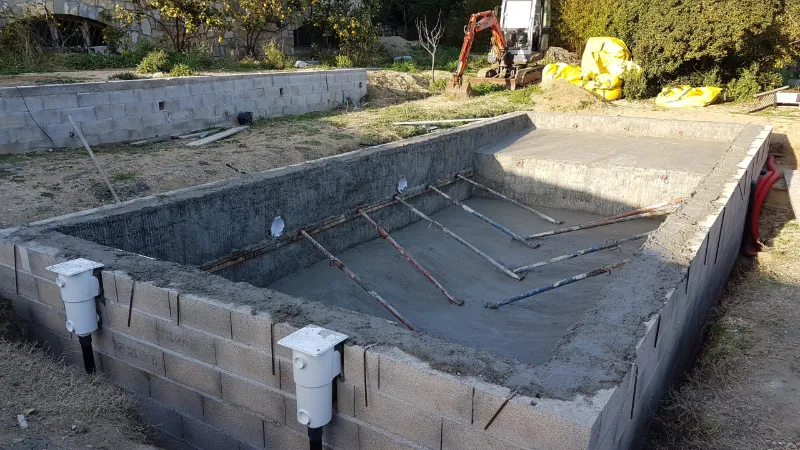
As I wrote earlier, given the resistance of the metal lath, pouring was a bit of an epic, but in the end the gamble paid off. Afterwards, the walls had to be trimmed with a hammer drill and a wide, thin chisel. I chose to scrape back to the lath, which was fairly easy.
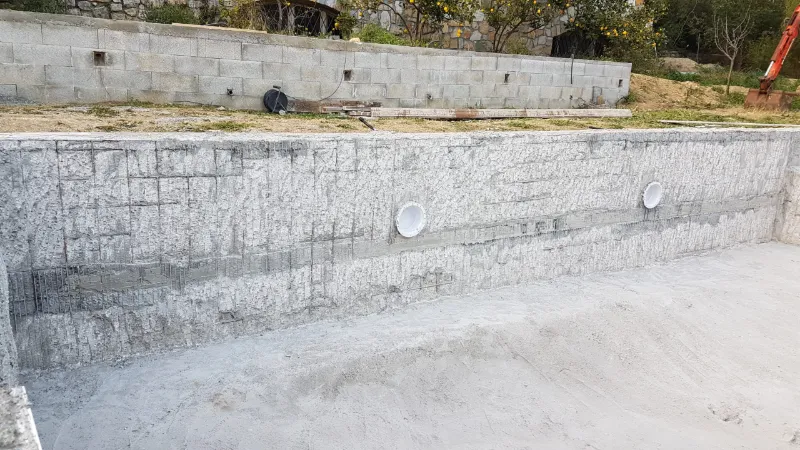
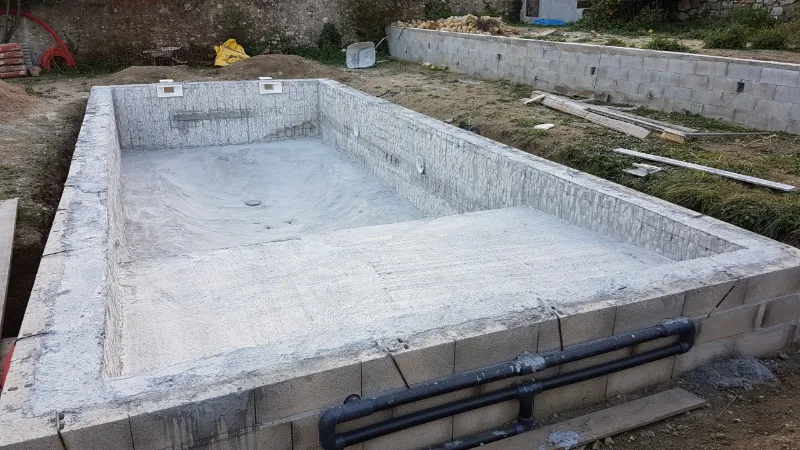
You can still see that vibrating the concrete is very important: in the far right corner there is a small gap. But that's not very serious and was quickly filled.
The smoothing render
An important part of the pool, the smoothing render provides a smooth, straight base for laying the tiles and ensures watertightness.
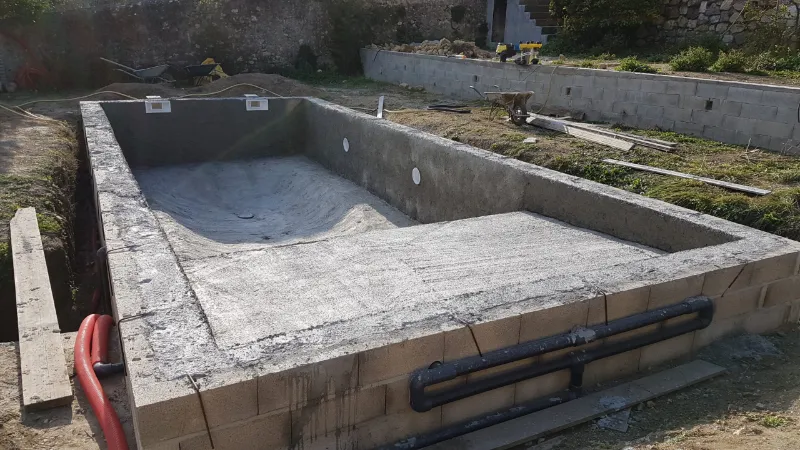
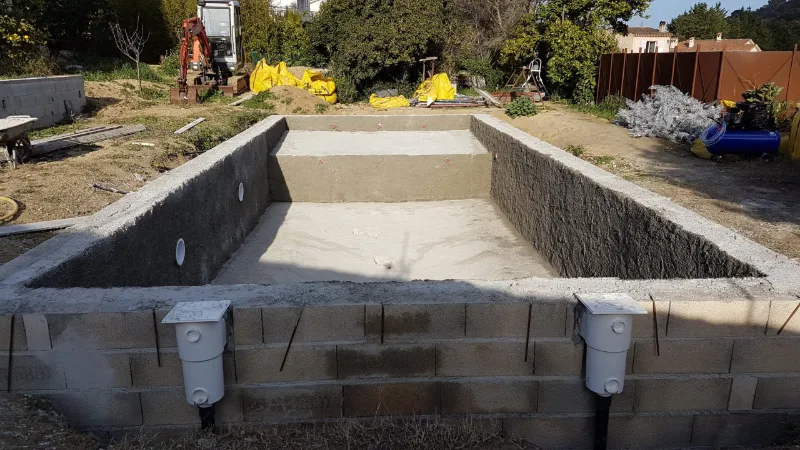
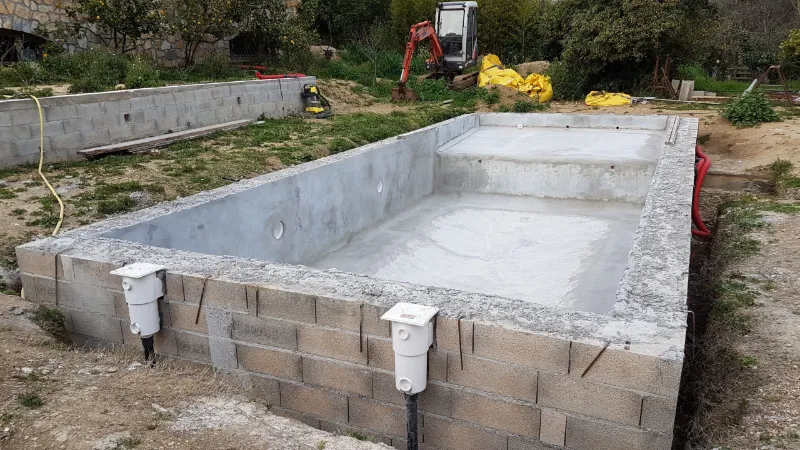
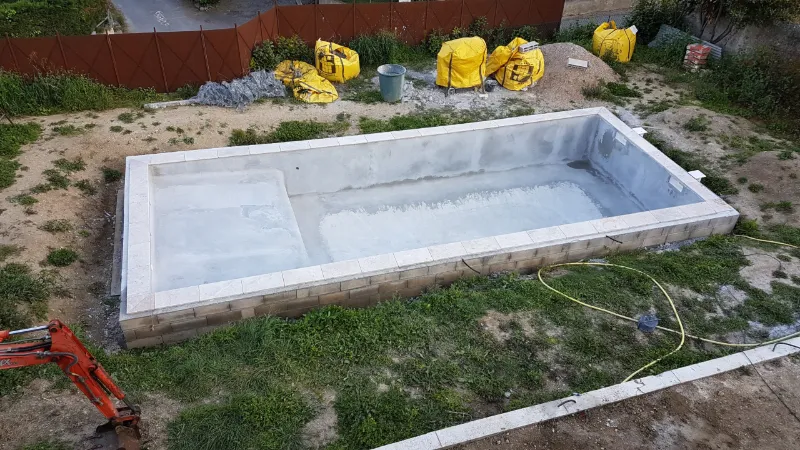
The smoothing render goes on in two stages.
1) First comes the main coat, to bring everything level, prepare the walls and pre-shape the rounded coves.
2) The last 5 mm to 1 cm are filled with fine mortar ("Biot" sand) for a perfectly smooth, clean finish.
In the last photo you can see that the coping stones have been laid. This is where permanent formwork really pays off: it gives a very comfortable base, wide enough to take the coping stones with no overhang and no gaps underneath. So they can be glued without any problem and sit perfectly flat.
Tiling and painting
For the tiling, I chose to tile the bottom and the waterline frieze. For the rest, i.e. the walls and the sun shelf, I went for paint for now, because at that point I didn't yet know what kind of tiles would suit me.
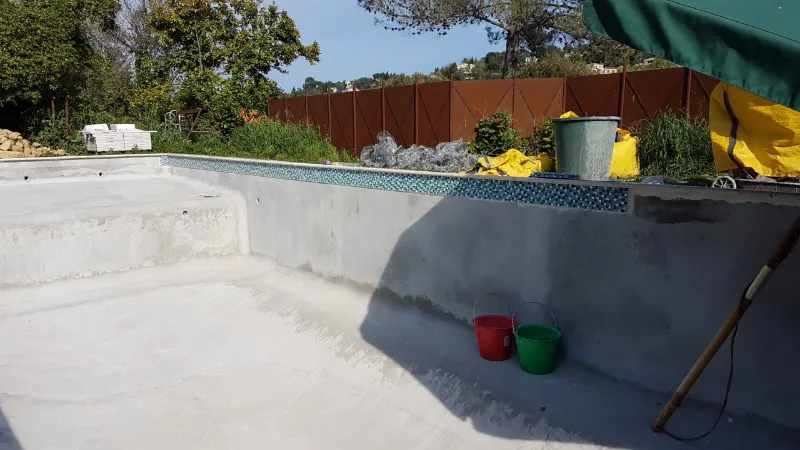
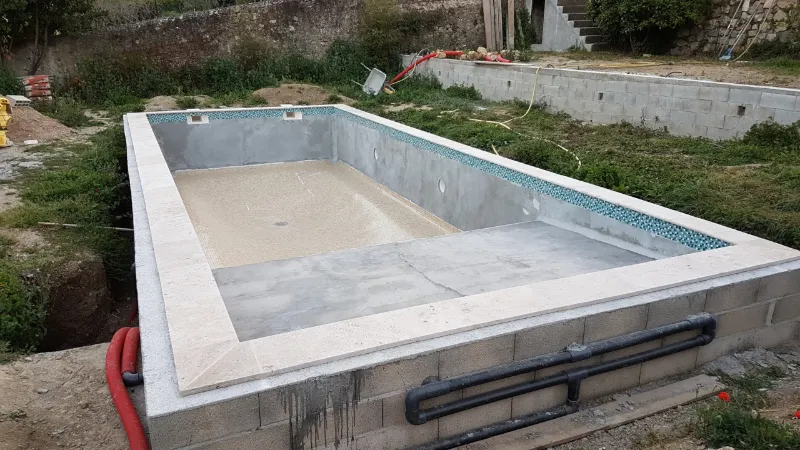
The frieze was easy to lay. On excellent render it can only go well: the corners came naturally and the tiling was done in record time.
The bottom was a little more complicated, partly because of its shape. But every problem has a solution, so little by little everything fell into place. The only thing I left until the end was the corners.
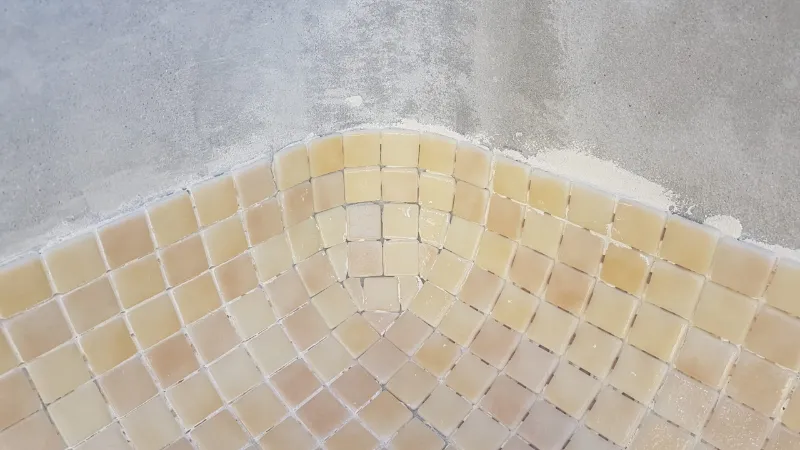
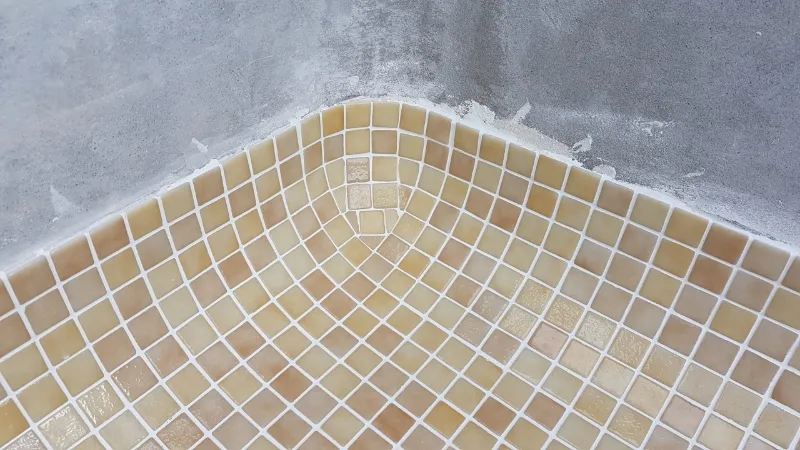
The corners aren't that hard to do; what matters is that they look good and are well finished, with neat grout lines. That said, once the pool is full you can't see them any more. Still, I like a job well done, so for my own peace of mind I wanted them to look like what you see in the photo. For more detail on the mosaic tiling, see this article: tiling an oval pool with mosaic.
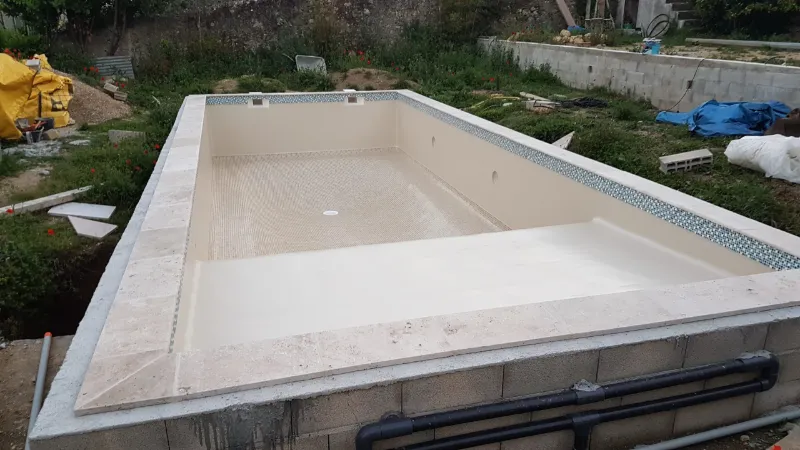
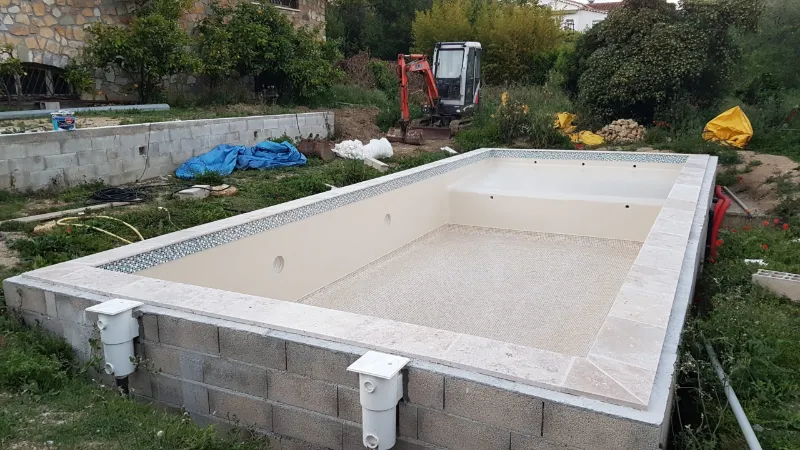
The tiling is finished, and so is the painting. As you can see, the colours are deliberately light, to get the water colour I wanted once the pool is filled: aquamarine.
Plumbing
Pool side
The plumbing on the pool side is fairly basic: it consists of installing the pressure PVC pipework, connected to the flexible PVC lines running to the filtration system.
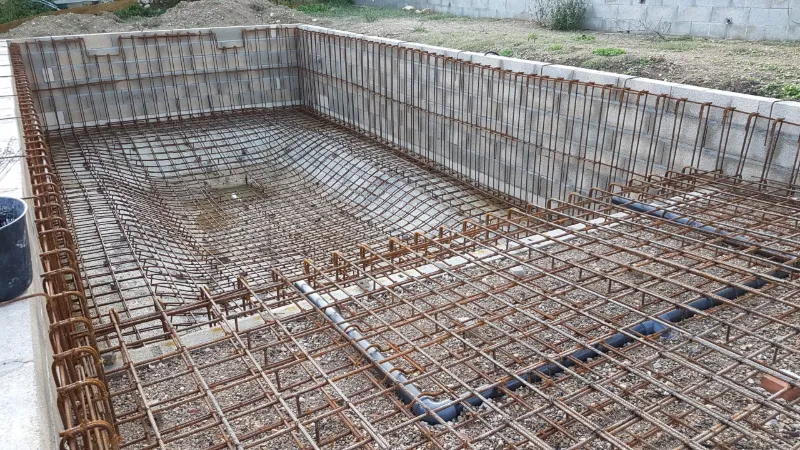
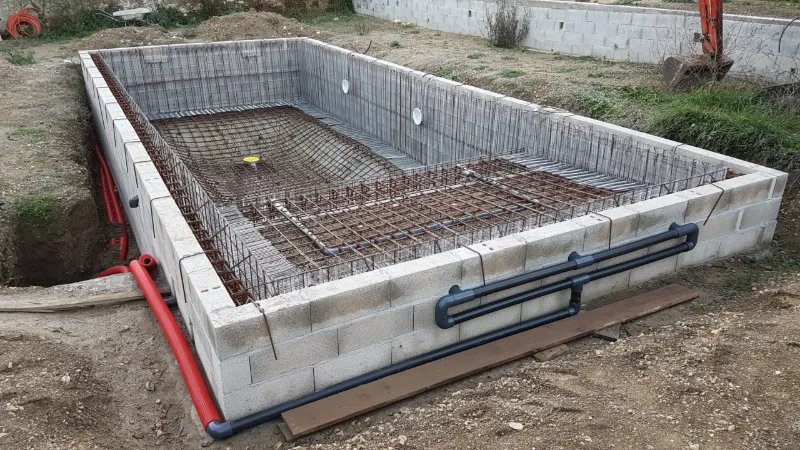
To get a well-balanced return flow, it's important to create a loop, as shown in the photos above, so that the return inlets all deliver the same pressure.
In my case, I chose to have two separate suction and return circuits.
- The first, which I'll call the "surface" circuit, removes debris through the skimmers; the water is pushed back by the three surface inlets along the top edge of the sun shelf.
- The second, the "bottom" circuit, filters the pool water, with the return through two inlets in the wall of the sun shelf.
Having two filtration circuits also means I can work on one of them for maintenance without having to stop filtering the water.
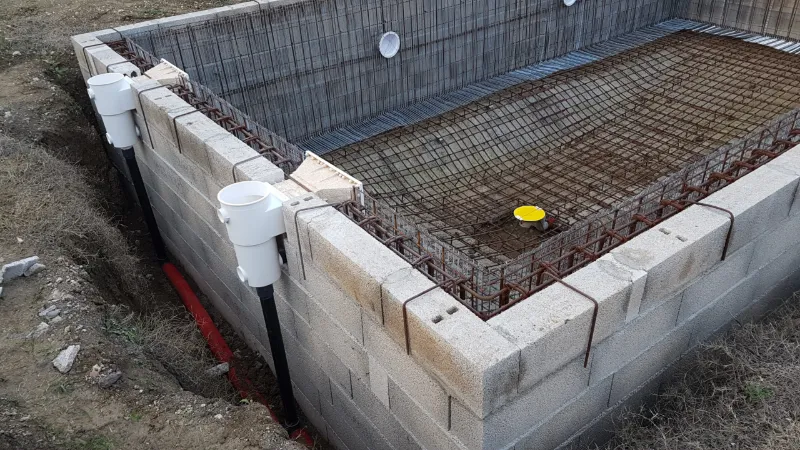
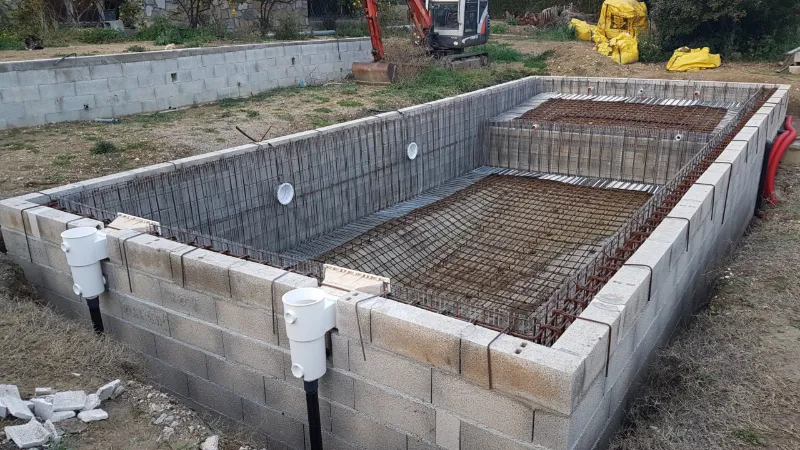
Installing the skimmers and the main drain in their recesses, with rigid pipes running down from the skimmers so they don't get torn off when the gravel backfill goes in.
The light niches went in at the same time, but that's electrics.
Filtration side
The pool was designed around the land and the existing structures. In this case, the closed garage let me house the filtration system, by drilling an opening for the suction and return pipes.
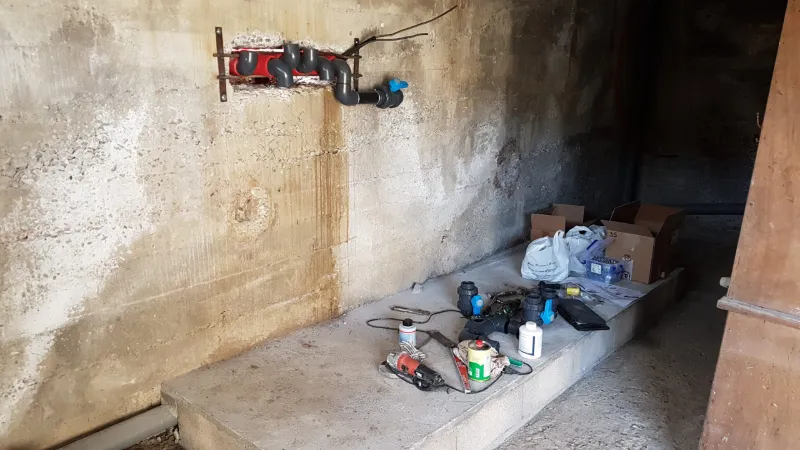
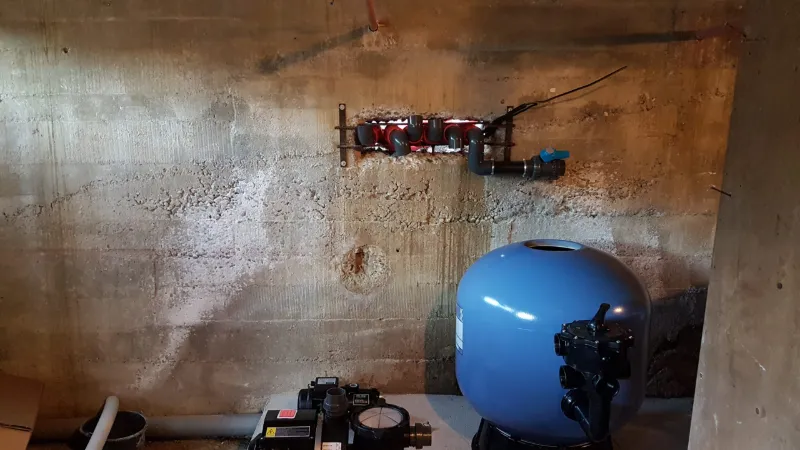
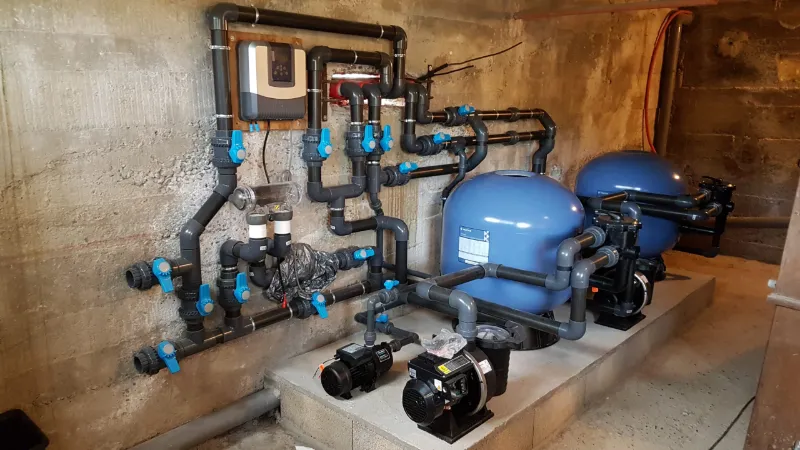
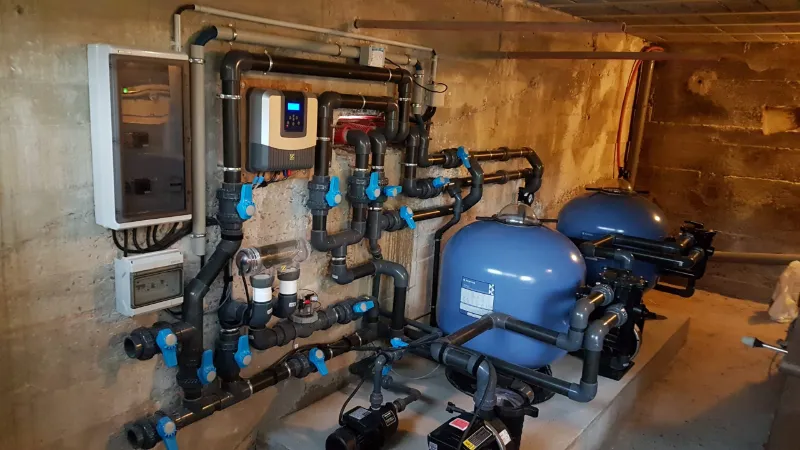
Filtration: a complicated contraption, you might say. Well, no. As you read earlier, we have two separate, redundant circuits, in case one breaks down or needs work.
An isolation valve was fitted on every inlet and outlet, again with maintenance in mind.
There are two bypasses: one for the salt chlorinator and another ready for a possible heat pump.
There is also a changeover system for connecting a pressure-side robot, in which case pressure is sent by a booster pump. Alternatively, you can connect a vacuum head, and by switching the valves the filtration pump does the suction. All of this goes through the same line, the robot/vacuum port.
The pumps are different: the one on the surface circuit runs slowly, or more precisely at variable speed, so it can run all day long and remove debris continuously. It turns at 450 rpm and uses very little power.
The second pump is a standard one and runs much faster. On the other hand, on the bottom circuit it only runs twice a day, depending also on the time of year.
Filling the pool for the first time
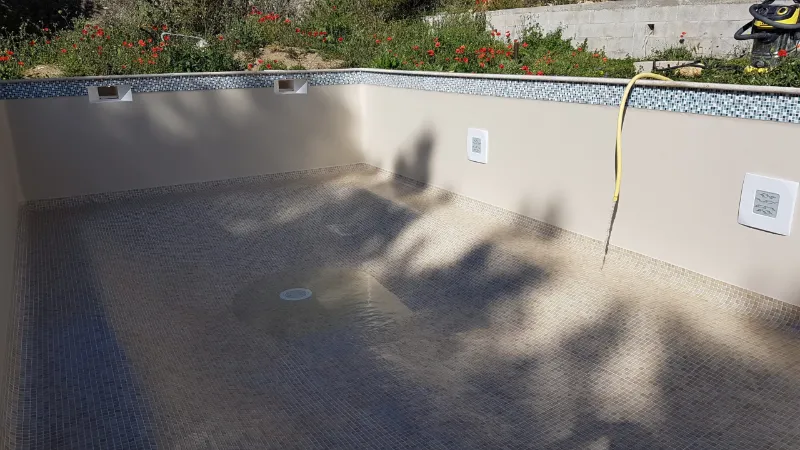
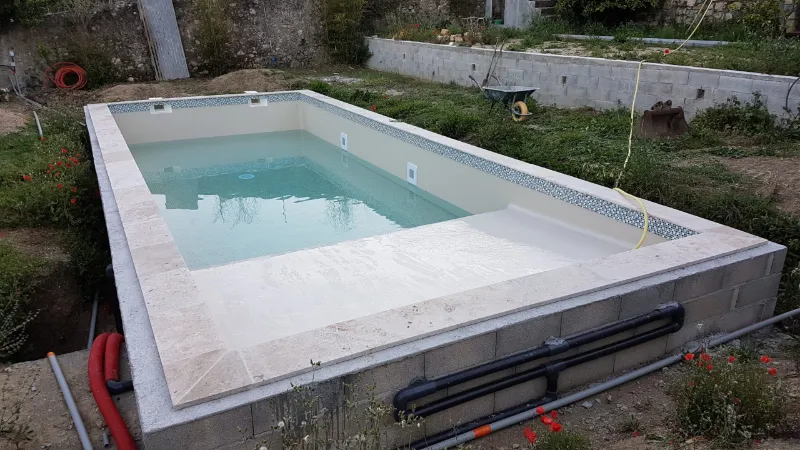
It's 20 May 2017 and the colour of the water finally appears, with a little apprehension, I admit: will it be as I imagined and planned? It's a moment of doubt. And, to my mind, the most important question: "Will there be a leak?"
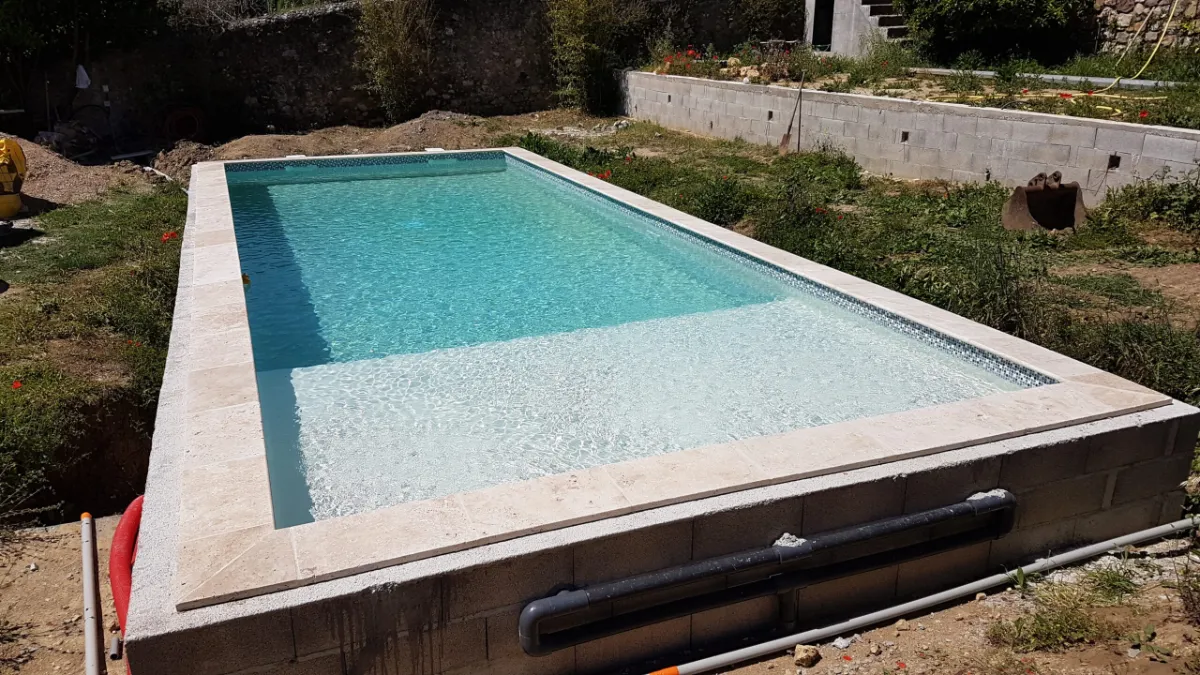
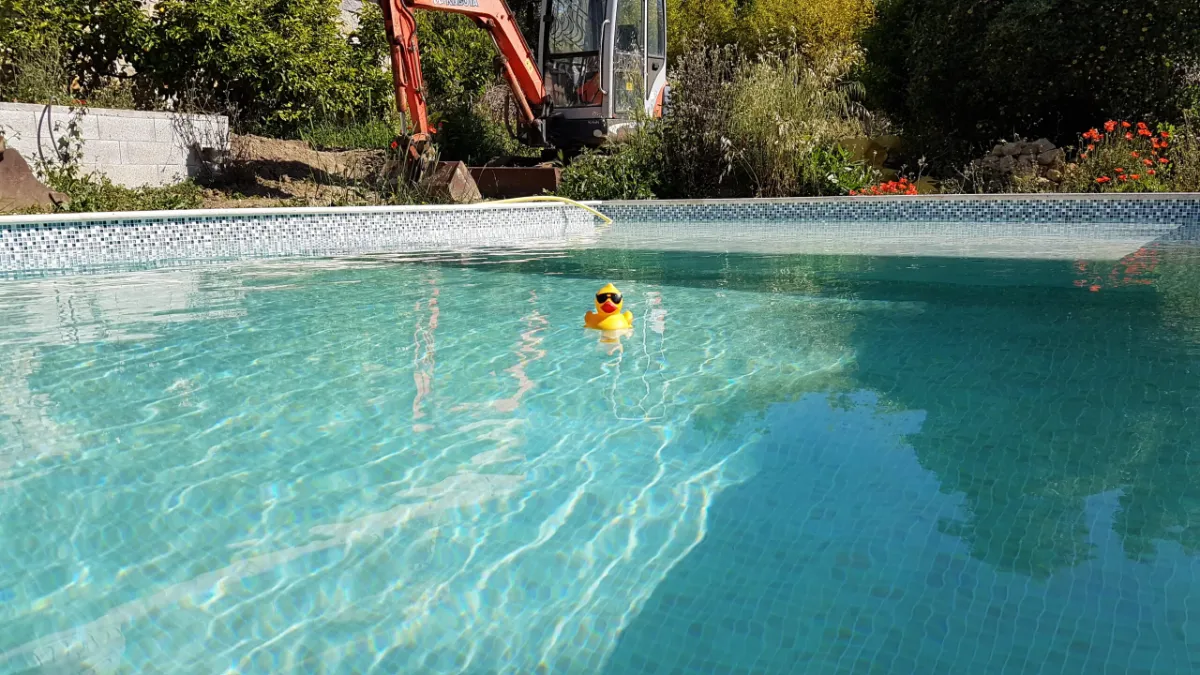
Well, no! No leak, everything is nominal and the colour is right, aquamarine as intended. After 13 months of work over weekends and holidays, things are taking shape: the pool is there, and so is the result. But let's not rest on our laurels: now the site needs finishing and embellishing.
Earthworks around the pool
Off we go again! Back to the gym: the digger and wheelbarrow workshop.
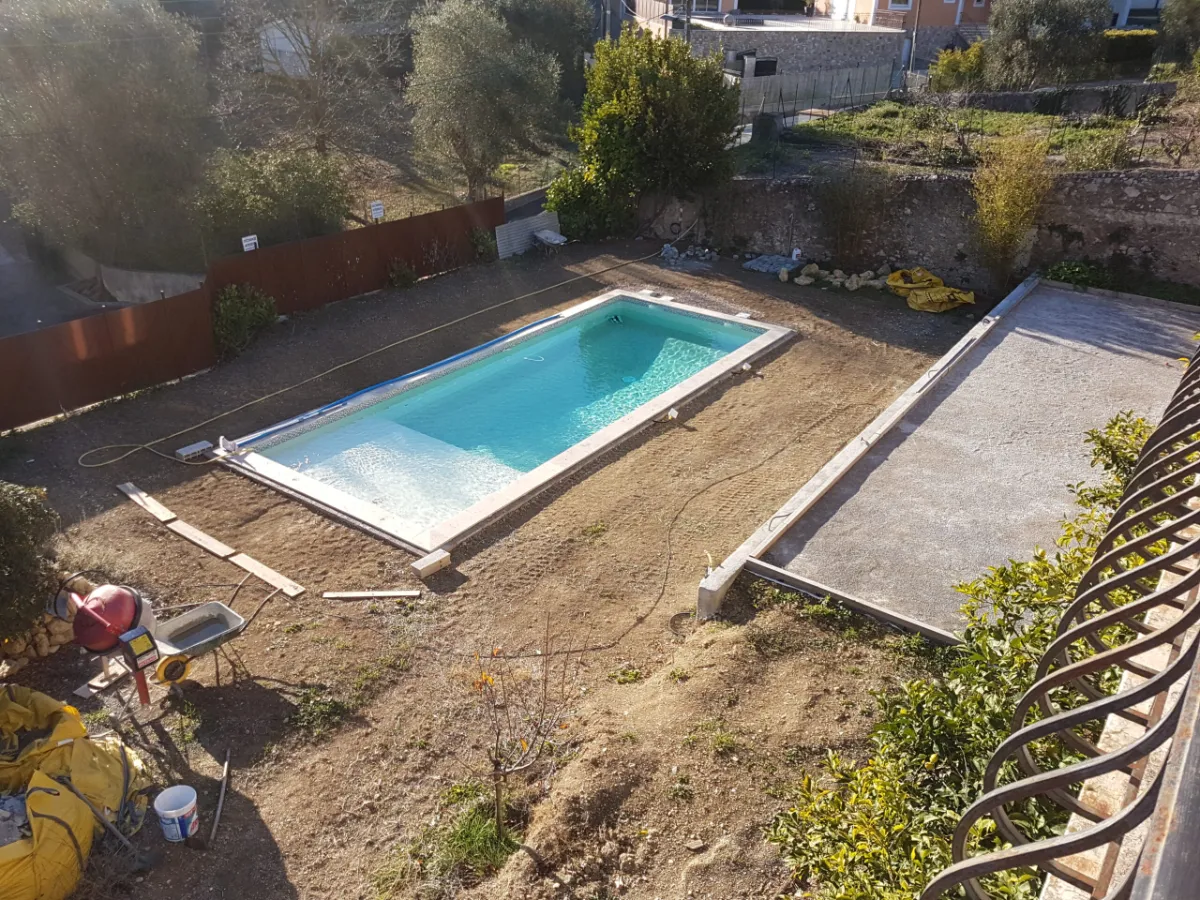
The remaining gravel was spread around the walls, packing around the skimmers, and the soil that had been set aside went back around the pool to bring the ground level again, ready for the tiled surround.
The pool surround
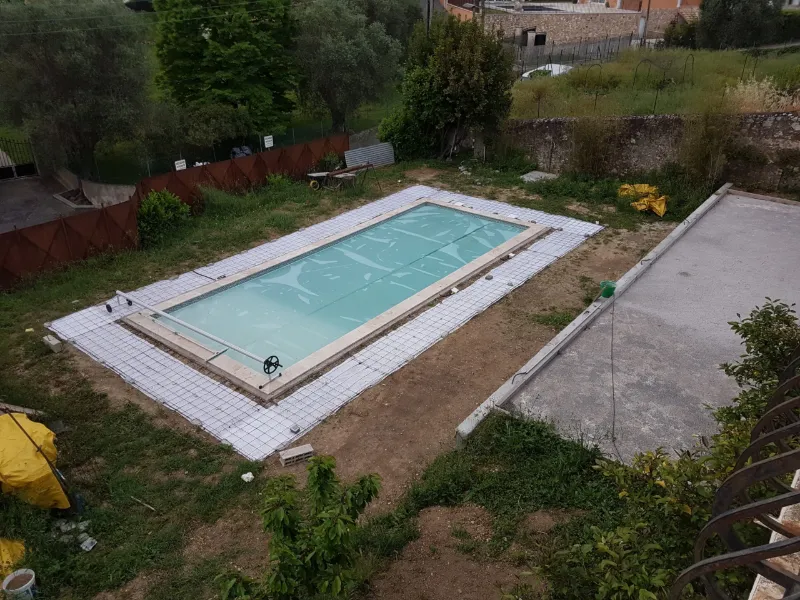
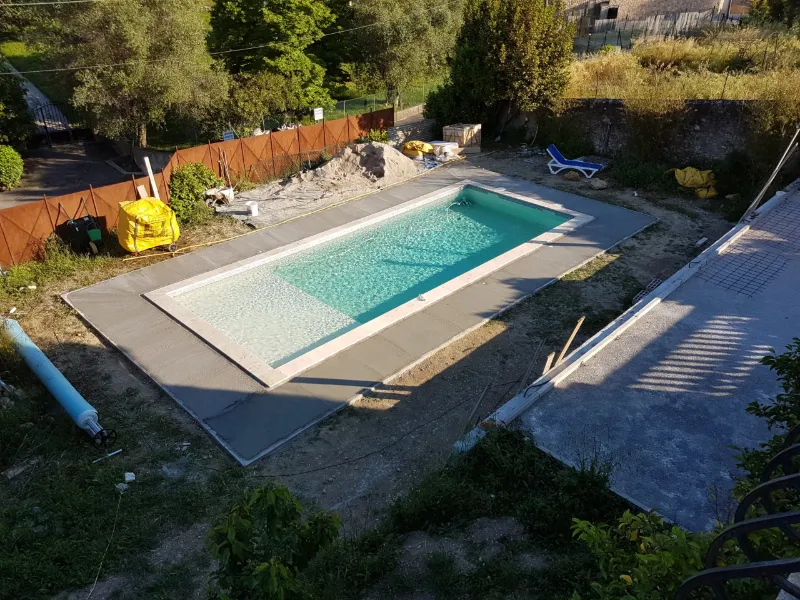
Good preparation was important to separate the concrete from the soil, and good reinforcement to prevent cracks as much as possible. So: a geotextile membrane and welded mesh, with of course a slight slope to drain water away from the pool.
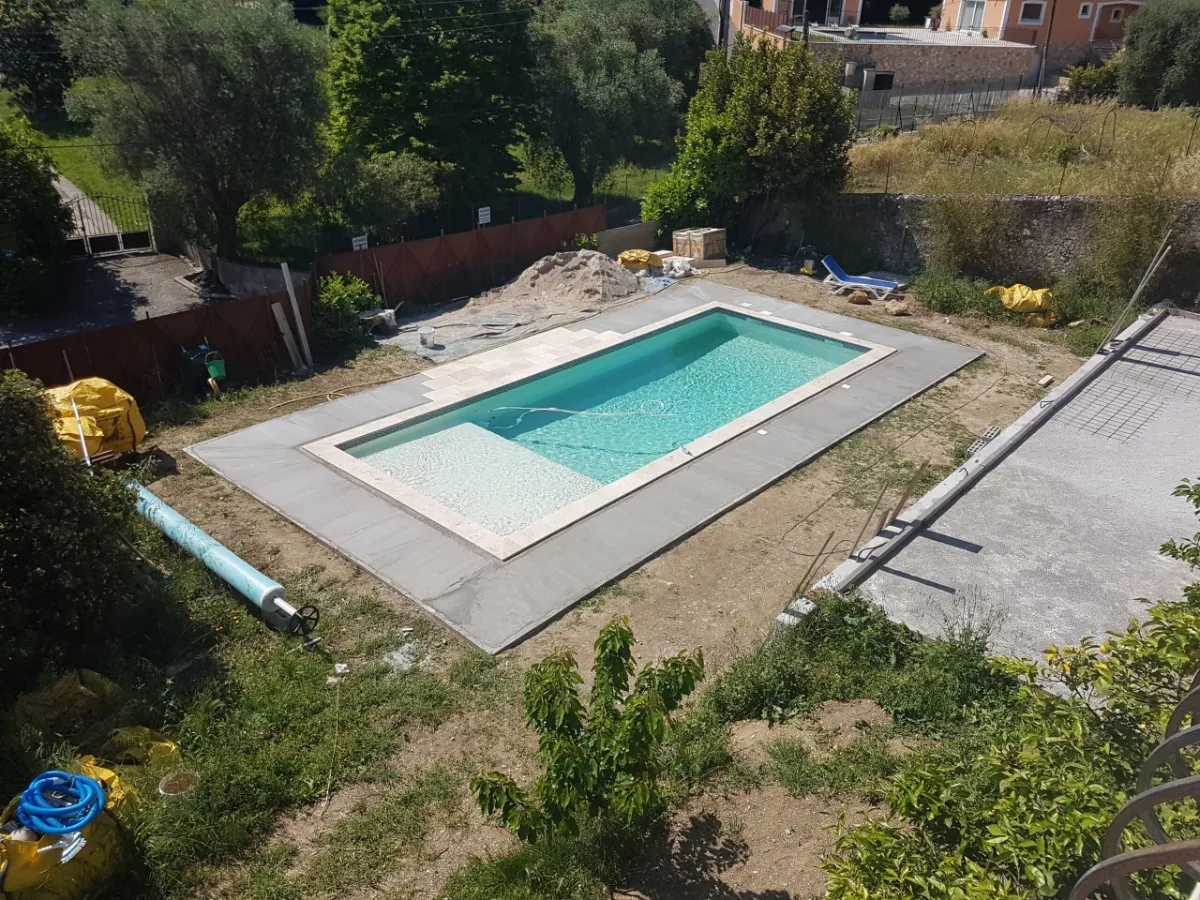
Laying out the tiles to plan the pattern, starting from the middle of each side to get identical corners.
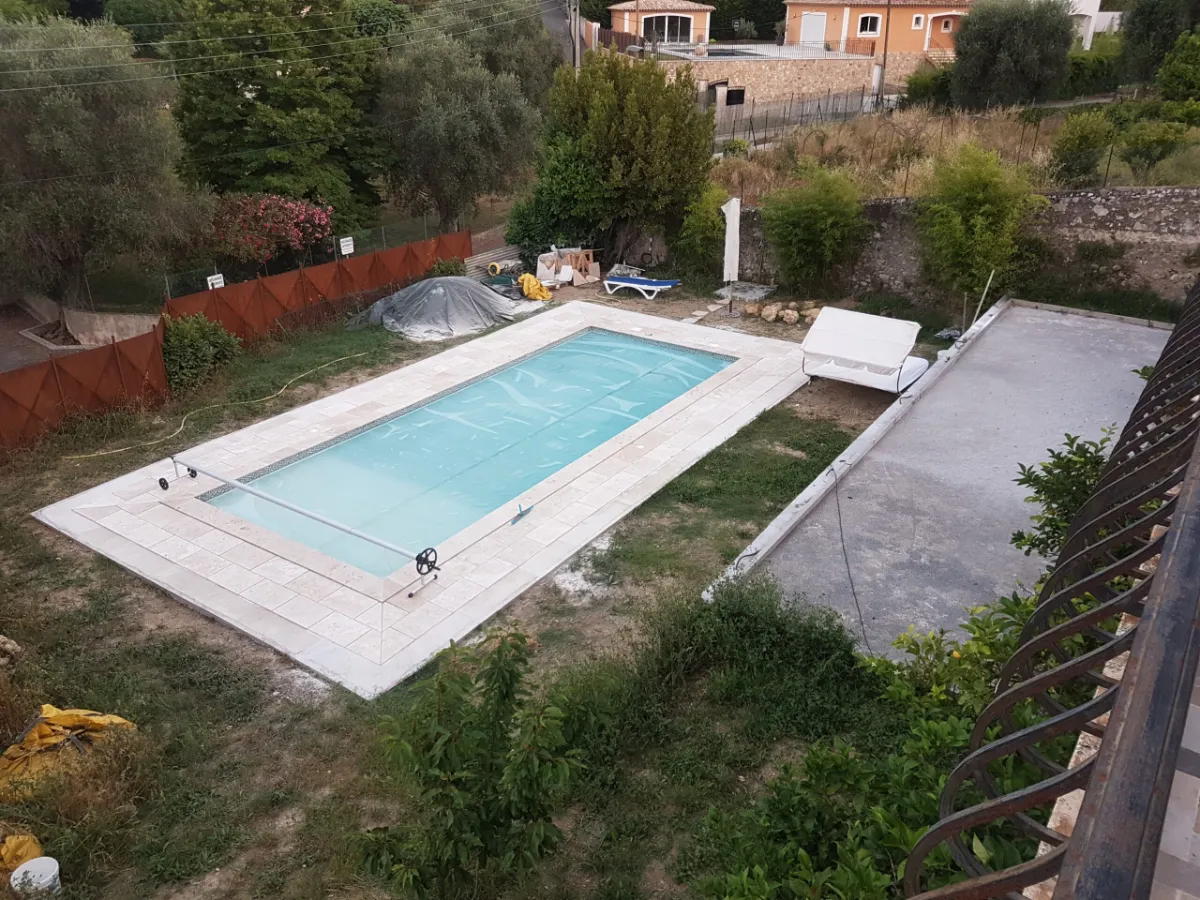
Laying the slabs in a half-offset pattern, working from the centre outwards.
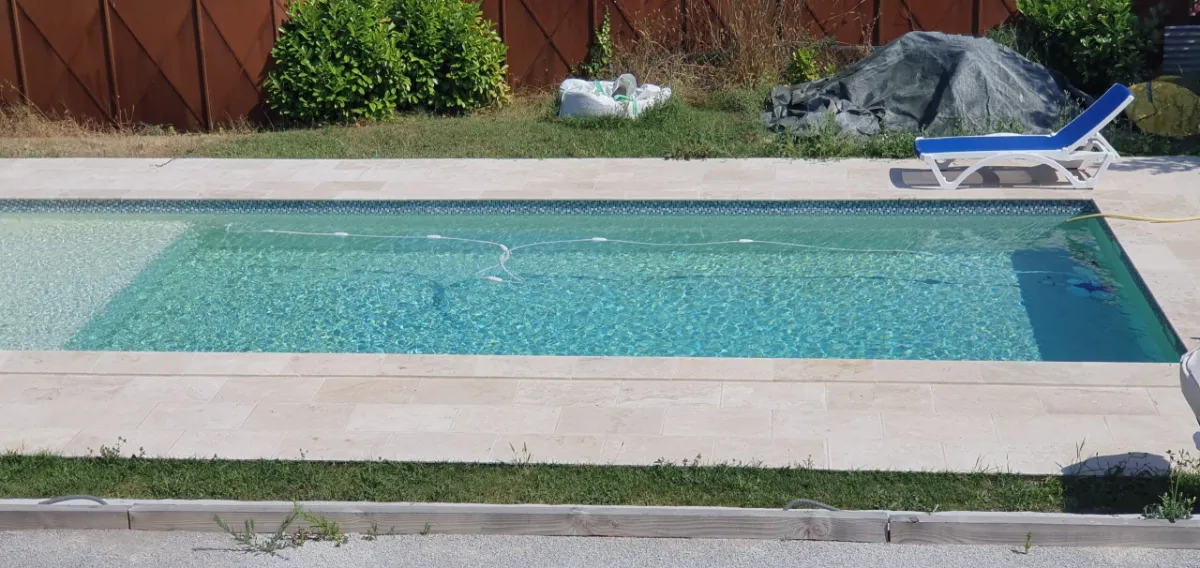
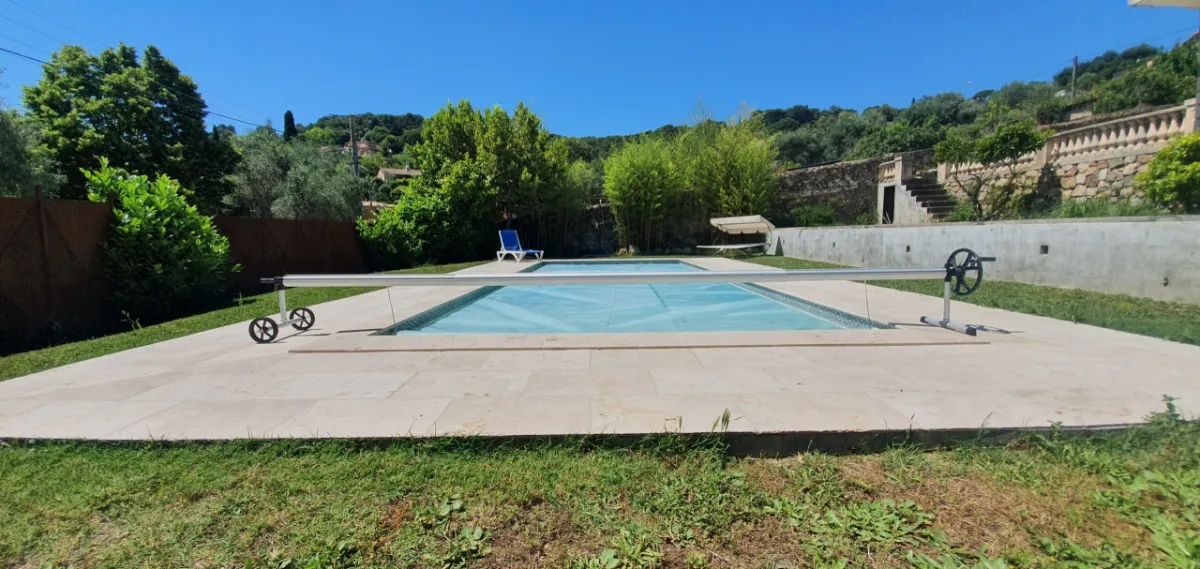
Pool surround finished, grout done.
The shower
A very welcome and much appreciated feature with a salt-water pool like this one: the shower is a real plus.
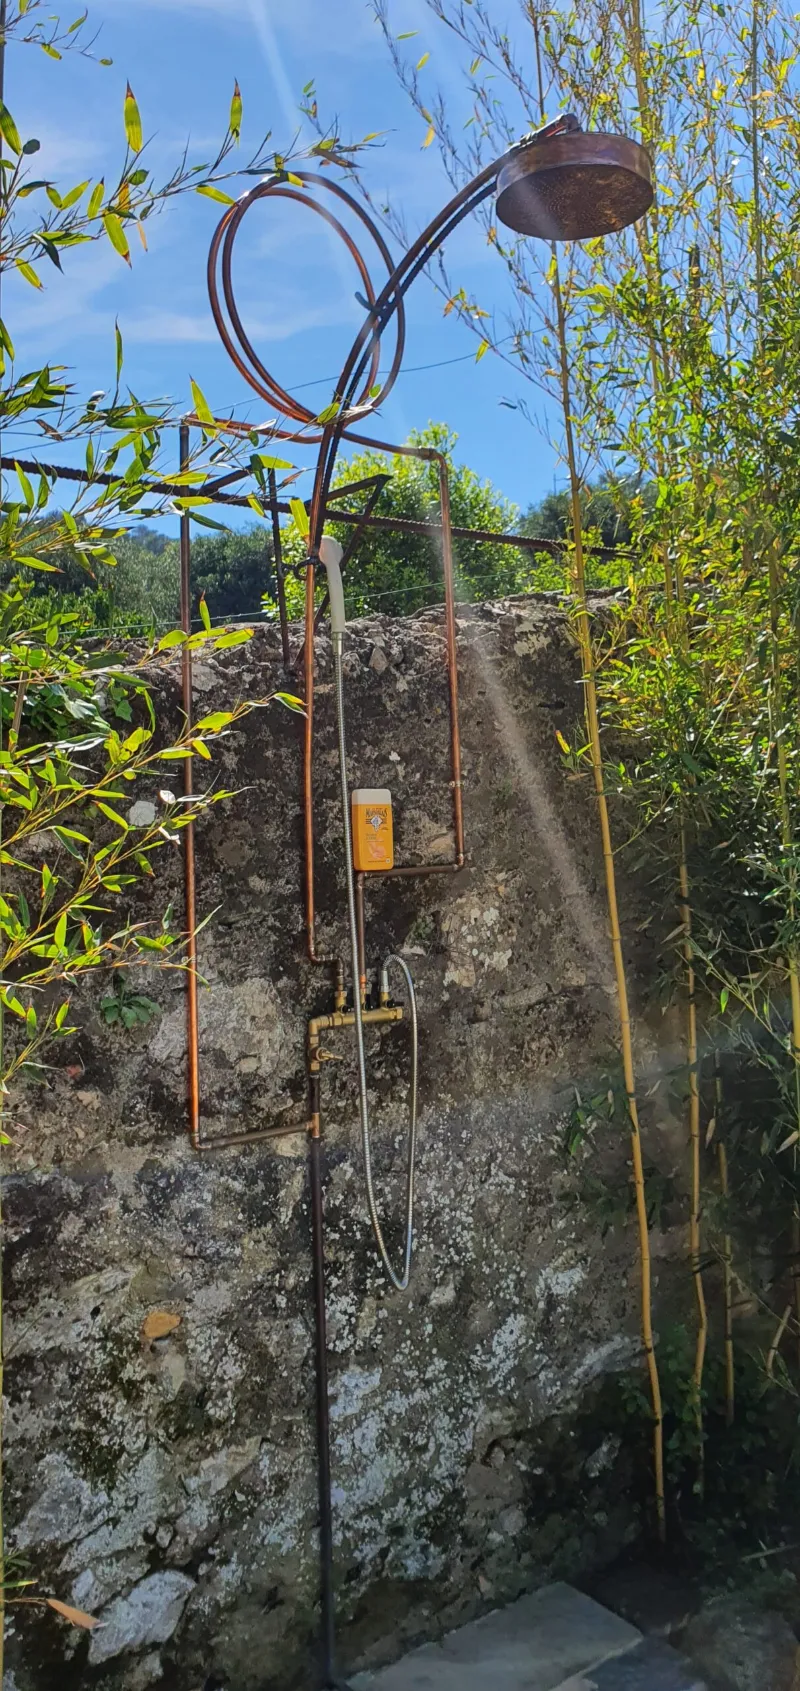
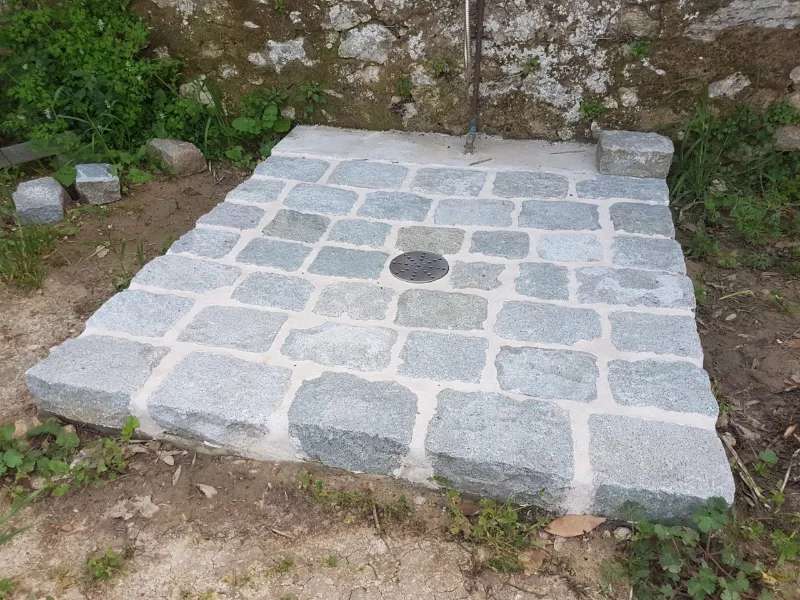
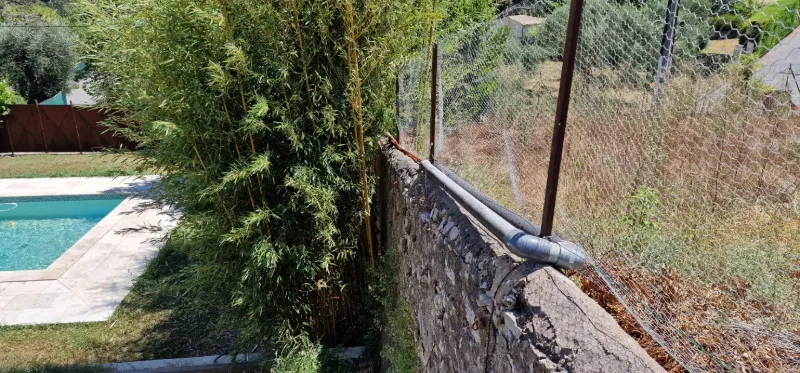
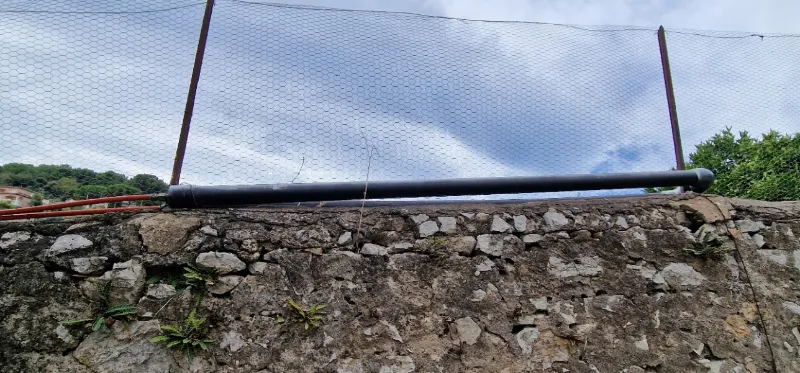
A solar water heater, basic but very effective, was installed and connected to the cold water supply, giving lukewarm or even hot water through a simple mixer tap for the shower. This heating tank, made of 70 mm pressure PVC pipes 4 m long, holds around 16 litres of hot water. Mixed with cold water at the distribution valves, that's enough for four short rinse-off showers.
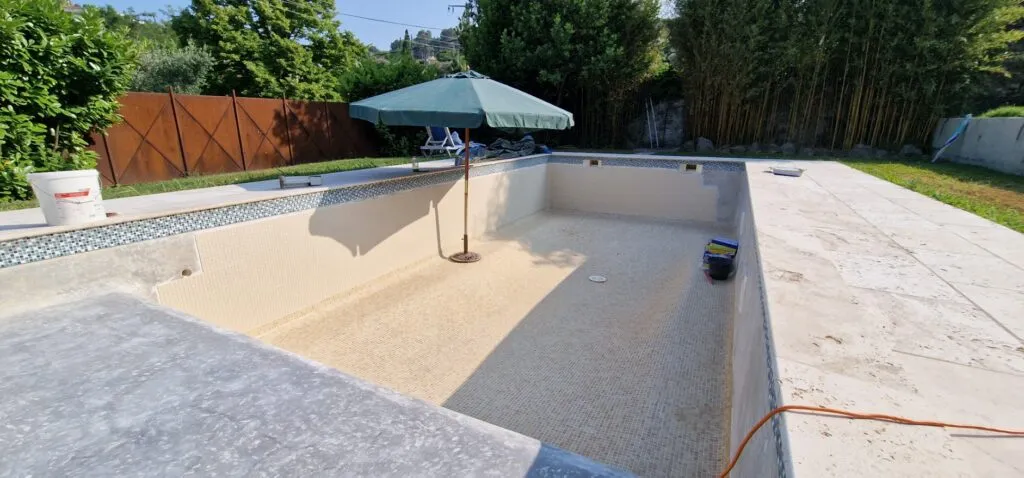
May 2025: tiling the walls and the sun shelf
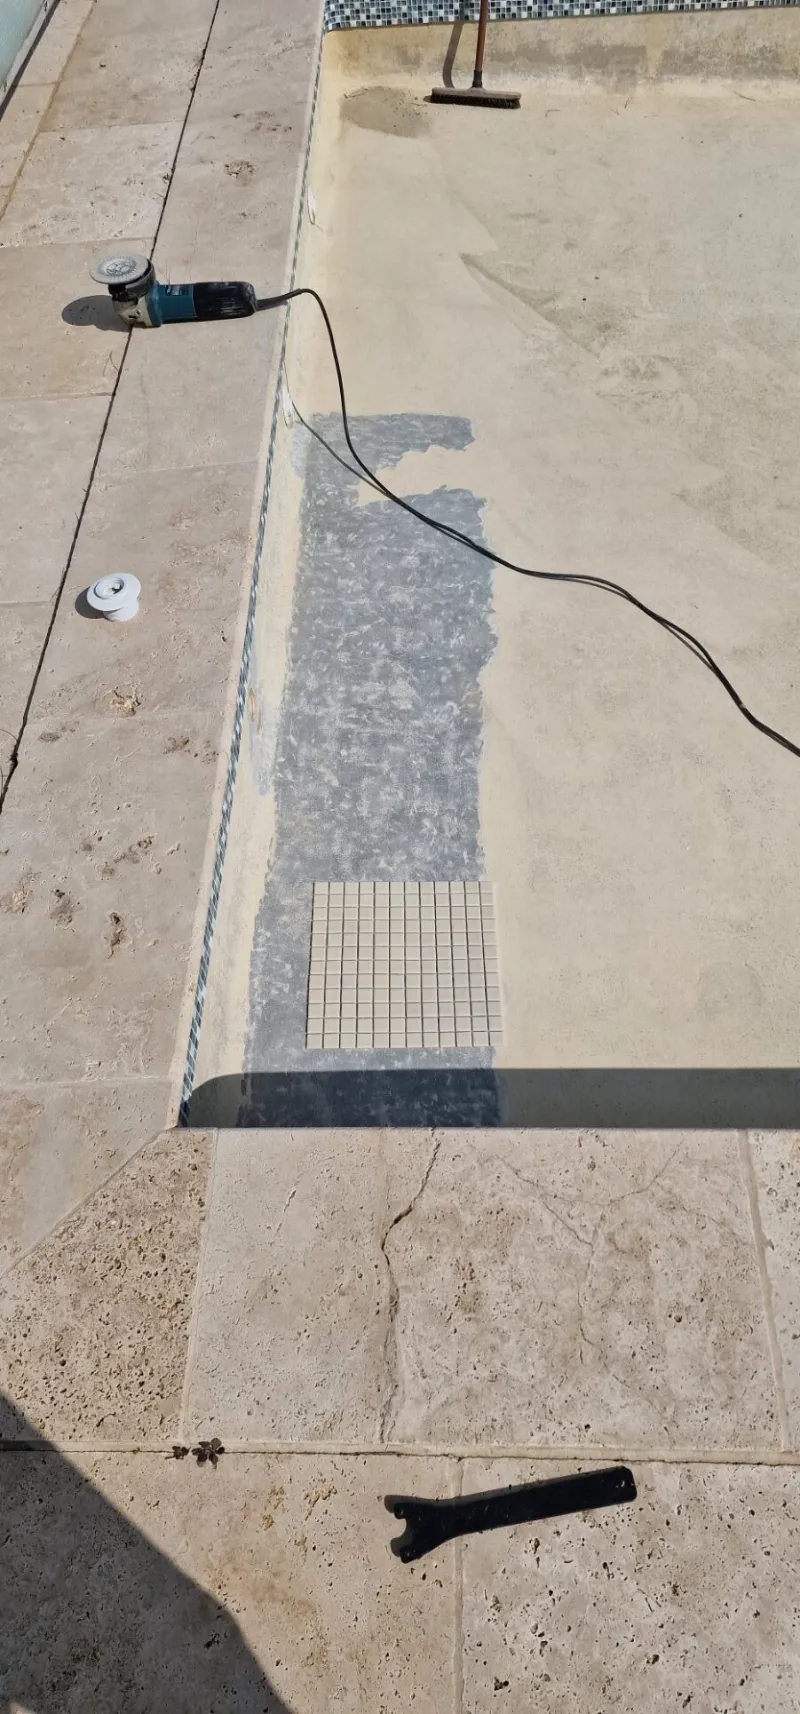
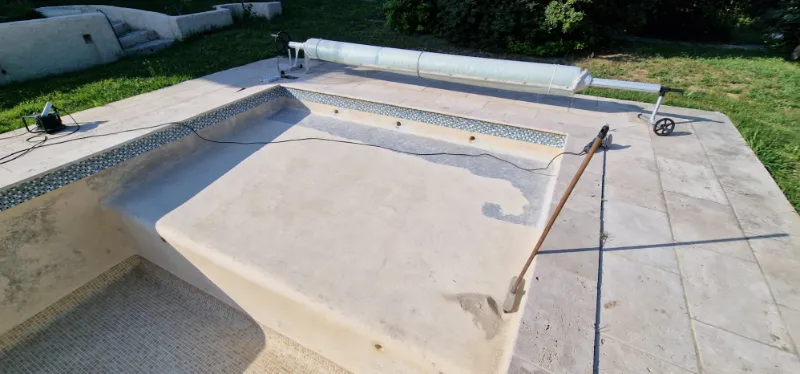

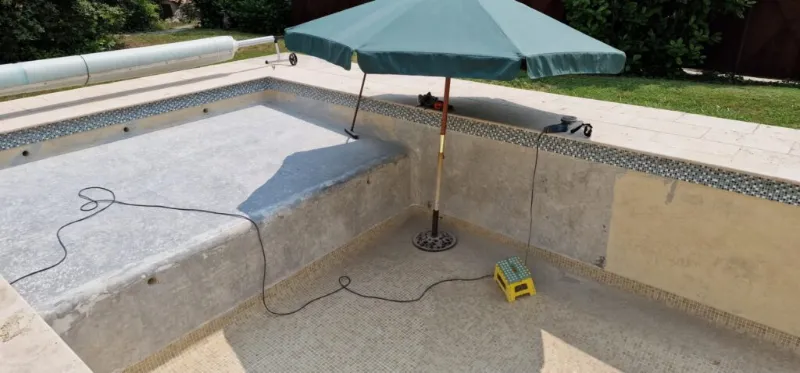
In fact, choosing paint for the walls and the sun shelf at the start was quick but not at all durable, and expensive too, given how short-lived it is. So the most economical and durable solution remains tiles. After a long search for tiles in exactly the right colour and of the required quality, the work could begin. Sanders in hand, we set out to remove all the paint and get back to a clean, sound render.
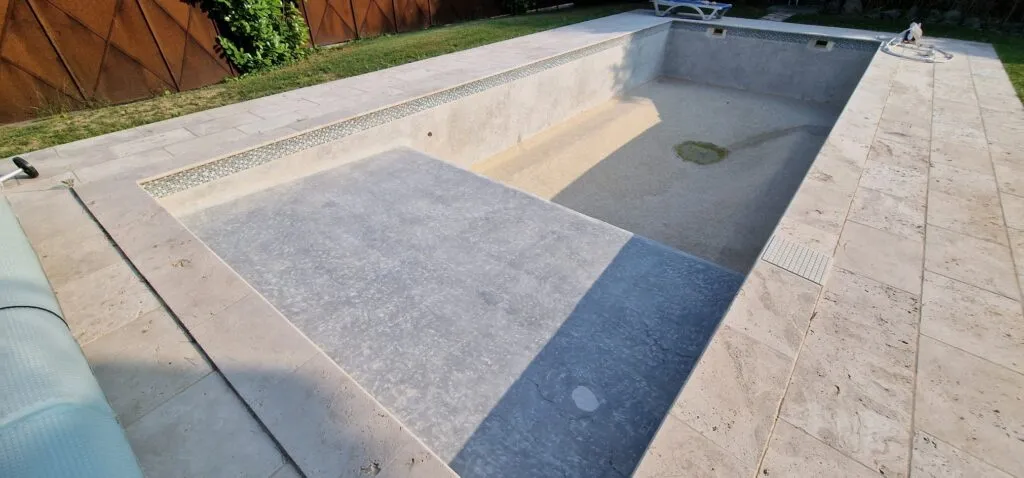
Here we are: no more paint, and a very clean render. Time to tile.
Day one
Not easy getting back into it after a few years, but the memories and the movements are still there: a good spirit level, accurate marking out, and off we go for perfectly straight tiling.
Days two and three