The pool
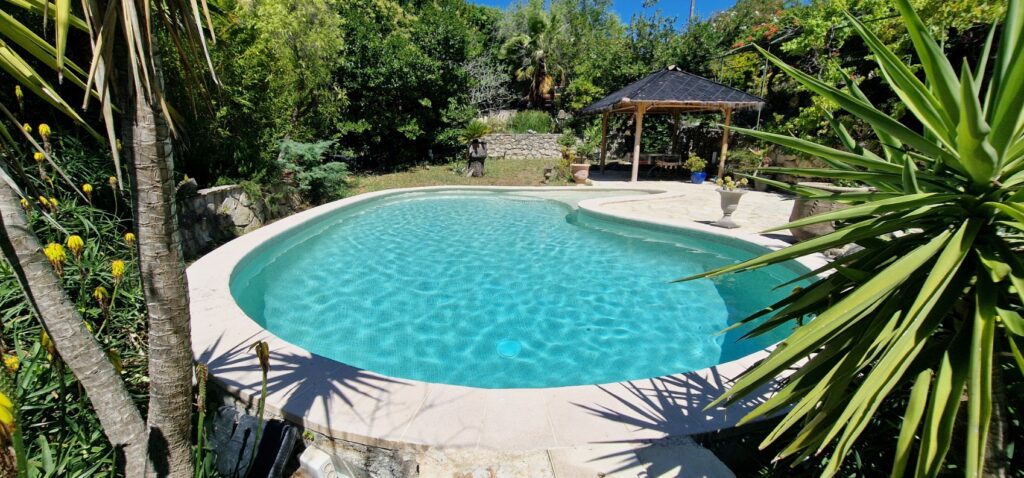
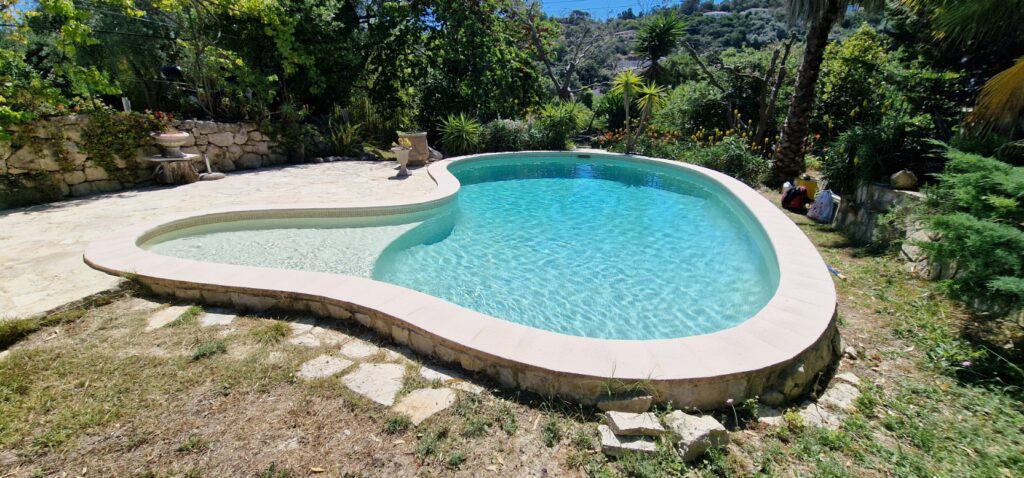
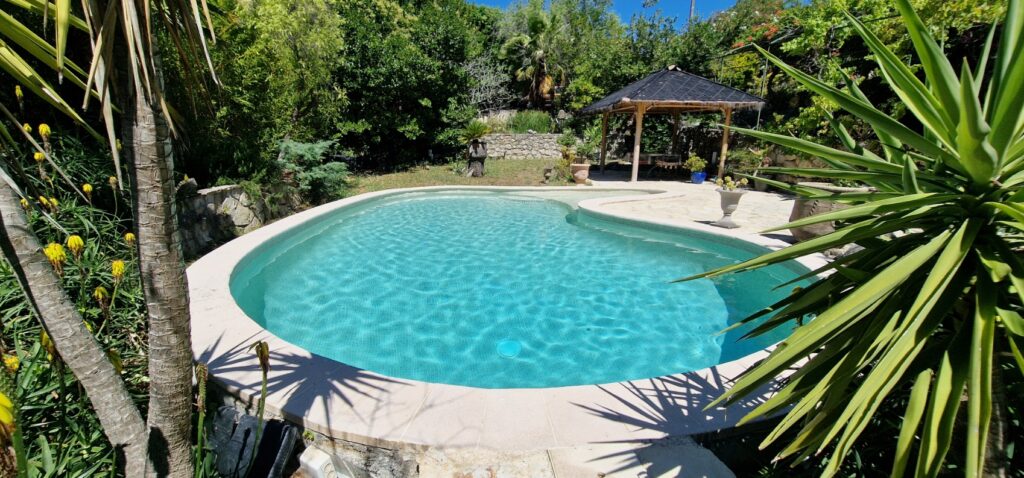
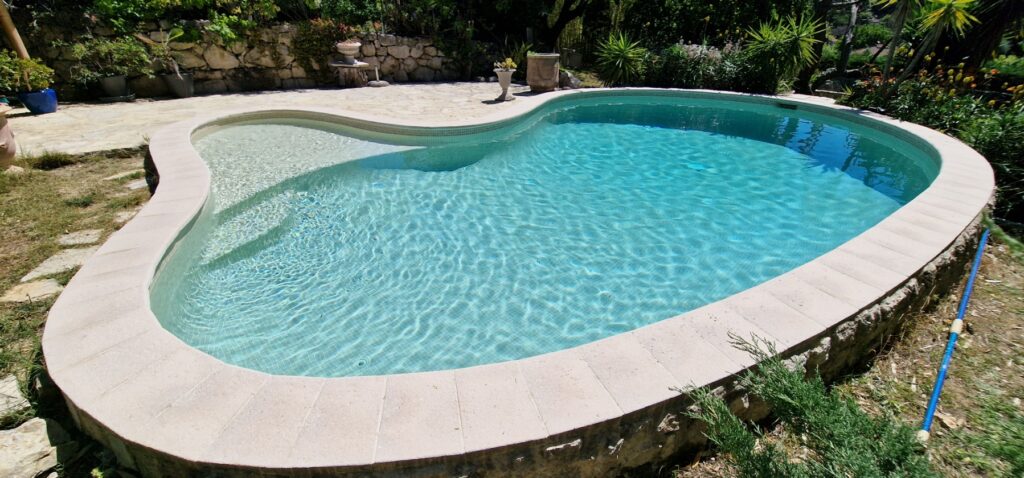
This is a "bean-shaped" pool, an oval shape that is one of the standard designs of a well-known company in the south of France.
And here's the thing… we'll have to fit squares into a circle: this is going to be a workout!
So we need to be methodical and calculate the total area carefully, to order the right quantity of tiles. For this, I use a very handy tool that has nothing to do with tiling: the Google Earth app, which can measure areas. Given the floor area and the average depth, my colleague Claude (the AI) helps me work out the area to cover in square metres.
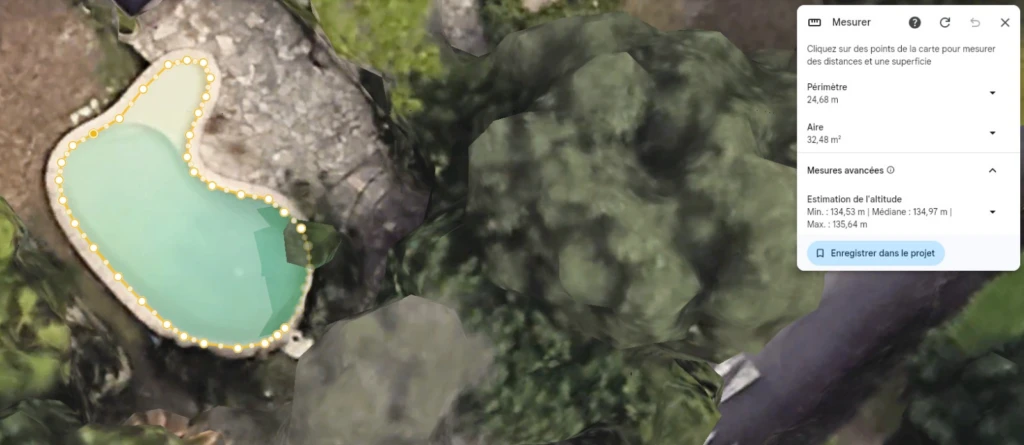
Simple and effective, for a shape that is nevertheless hard to tame.
The result given by the AI assistant:
| Surface | Calculation | Result |
|---|---|---|
| Floor | 32.67 m² | 32.67 m² |
| Shallow end (1 m) | partial perimeter × 1 m | ~8 m² |
| Deep end (2 m) | partial perimeter × 2 m | ~17 m² |
| Estimated total | ~58 m² |
That's exactly what we needed to cover the whole pool, with less than a 10% margin. A very good and very reliable calculation.
Preparation
This stage is crucial. Whatever you do, don't rush it or neglect it. A perfectly clean surface is essential, so that gluing doesn't turn into an obstacle course, or even a disaster.
First of all, draining, cleaning and disinfecting the pool are a must.
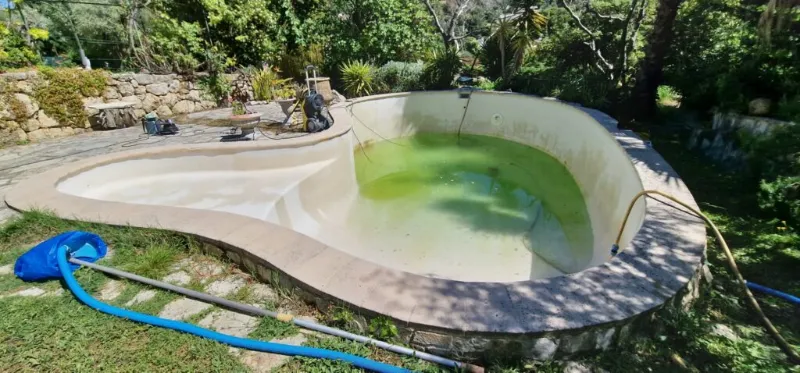
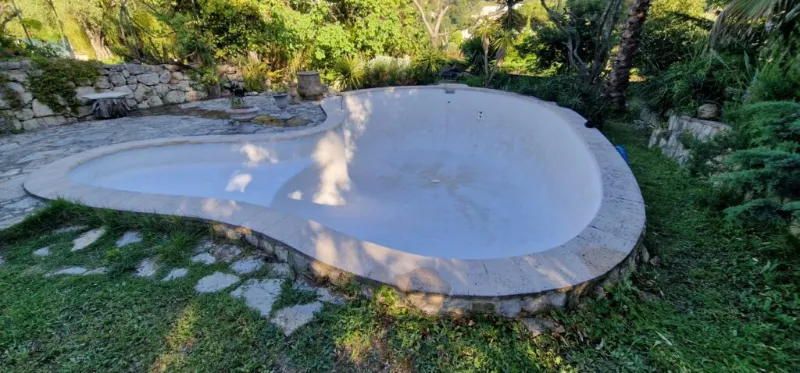
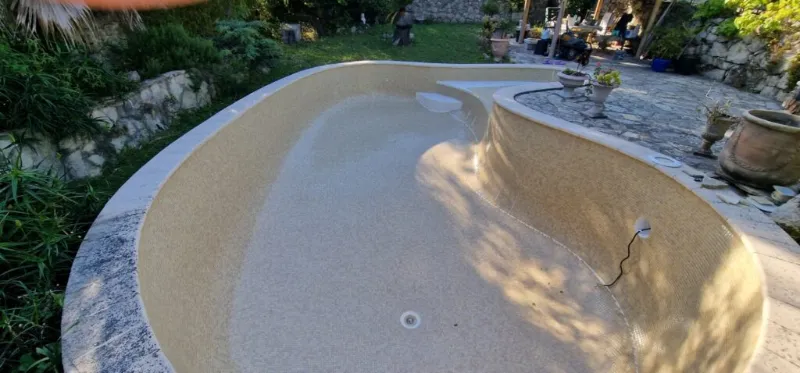
Next, check that the existing spray-applied finish is in good condition. This kind of finish, often called a "stone" or "marble" finish, tends to turn brown over time because of certain algae. The manufacturer actually recommends refreshing it by sanding about every 5 years. The problem is that this is expensive, it has to be done fairly often, and the issue comes back very quickly (I've tried). Covering it with tiles is essentially the result of that observation.
After a light sanding, we can see that the surface is sound and ready for the adhesive and tiles: off we go on the adventure. We take the opportunity to remove the poorly glued tiles around the skimmer mouth.

To avoid tiles coming loose where the old tesserae were removed, we lightly scrape the surface to prepare a perfect bond and follow the curve of the sides of the skimmer mouth, which will give a nice continuity to the final result.
Materials used

Ezarri 2576-B 25 mosaic
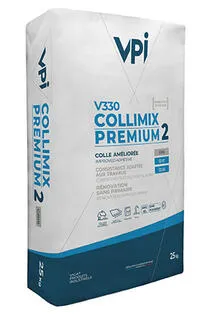
CCOLLIMIX PREMIUM 2 _ V330/V331
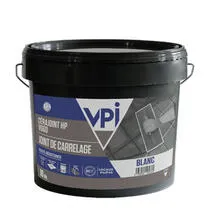
CERAJOINT HP V660
Laying the tiles
Day one
The start is always the most critical part: you need reference marks and rules, and you must keep the final result in mind at all times. The principle is therefore to place the pieces methodically, following these marks.
Here, we chose to start from the centre, guided by the centre line joining the two points of the pool furthest apart, and as parallel to the walls as possible (a difficult exercise in an oval pool).


The floor of the pool was marked out with a plumb line: this makes it possible to follow the centre line when gluing and to keep the tesserae sheets and grout lines nicely square, which will help when working up the sides. Don't panic: the camera angle makes the string look off-centre, but everything is properly centred.
Day two
As it's hard to simply start from the centre and work up the sides while guaranteeing a perfectly straight finish, it's better to start gluing the sheets just below the coping and then work down to meet the floor. This guarantees a flawless finish on the most visible wall and marks out the line where floor and wall meet. The tesserae sheets are laid along level vertical lines, keeping a one-joint gap between sheets, so that they disappear completely into the whole and give the look of a uniform surface.


At the bottom of the wall, things get a bit trickier: to follow the shape, gaps have to be left between the sheets to fit the curve. Yes, fitting squares into circles is quite something! The gaps will be filled later.
An interesting detail: a dividing line between floor and wall appears naturally, which is exactly what we were after for the final look.
The skimmer mouth is covered, this time with the tesserae taken right up to the plastic to keep it watertight.

Day three
Things are moving along nicely: the line between floor and wall is clearly visible, and the floor is starting to fill in too.

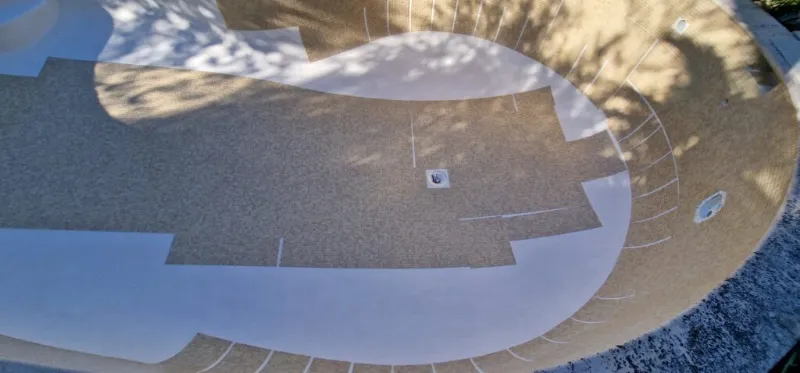
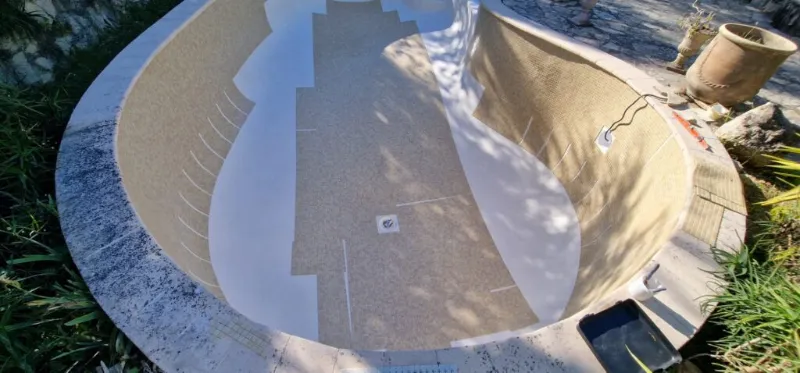

There are still a few unavoidable gaps, due to the curves.
Day four
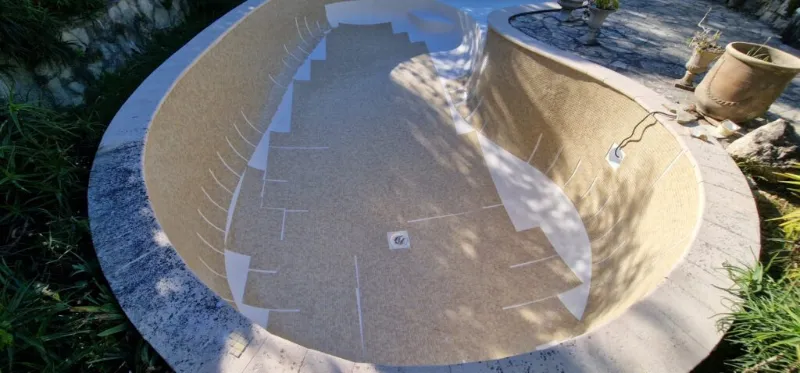
The edges are getting closer: soon we'll be able to get the tile nippers out.

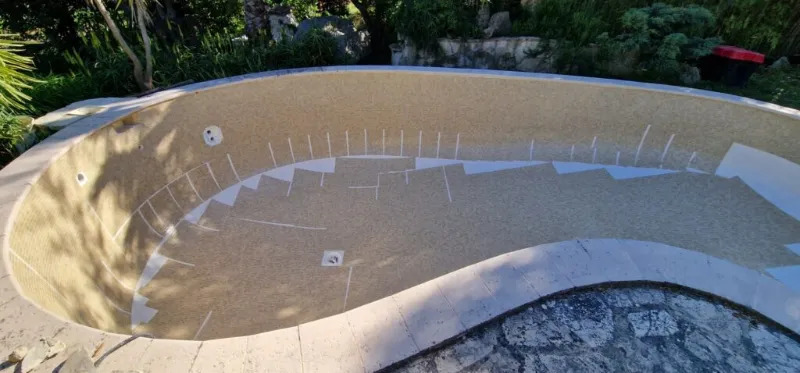
Day five
For the walls, the most satisfying moment is when the two ends meet, everything lines up perfectly and you've gone all the way round: that's when you tell yourself the finish line isn't far off.
Here we are: nippers and tesserae in hand, time for some painstaking work. Care and precision are essential; luckily, the expert is on hand. The wall is flawless, and not a single join can be seen.
"Well done, maestro!"
You'll also notice that the sun shelf has started to be covered too. Same principle as elsewhere: start from the centre line and glue on either side of it.


Day six
The flattest parts of the pool are now covered; from here on, the work across the whole pool becomes more detailed.


The little ant is still hard at work, and things are taking shape.

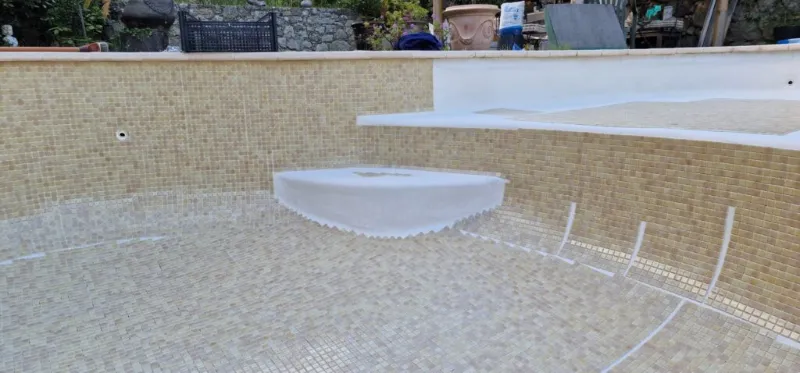
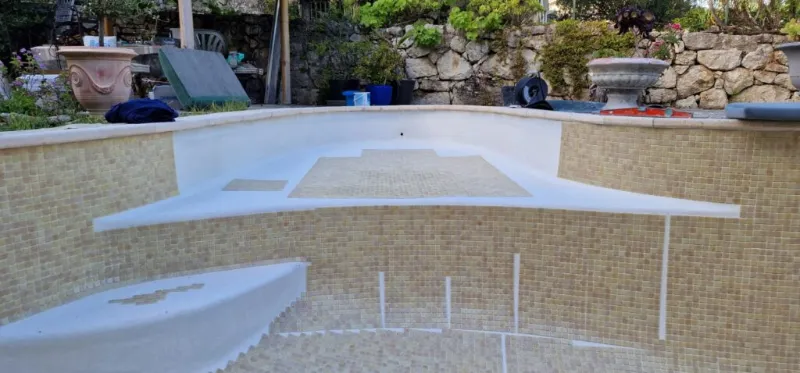
Day seven
A tough day: nothing but tiny pieces of tesserae. But the result is there: you can't even see the dividing line any more, and the surface is uniform.


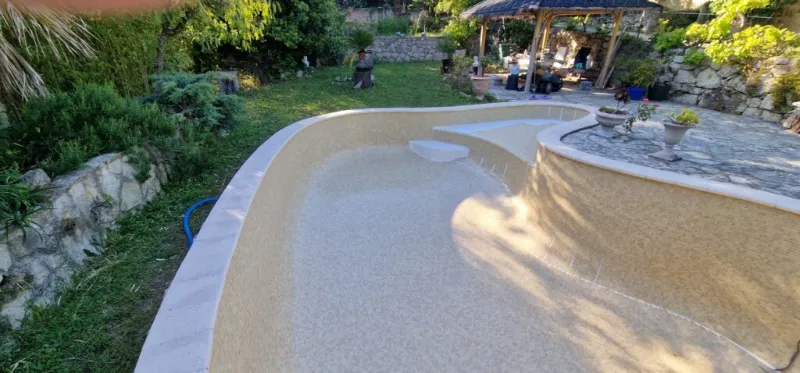
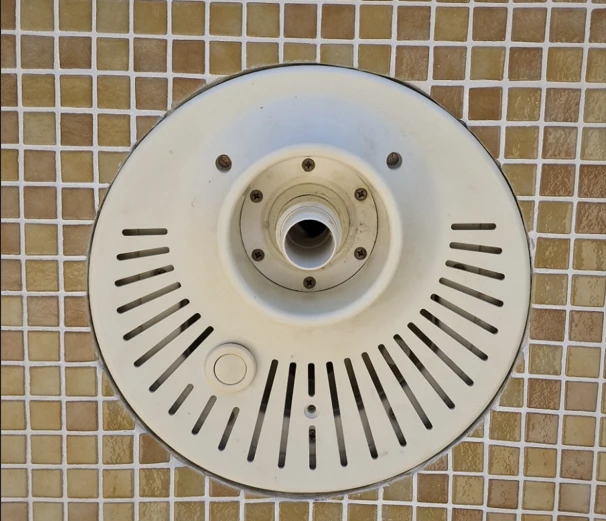
The area around the main drain has been done too.

Day eight
Now it's all about the details, for a flawless tiling finish.


Day nine
The tesserae are now all glued in the pool, and grouting has started on the walls.


The skimmer mouth is finished and the result lives up to expectations. It is watertight, and the plastic edges no longer stick out, so debris can slide into the filter unhindered.

Day ten
Grouting continues: it's tedious, but very satisfying when you see the result, as with the step below.
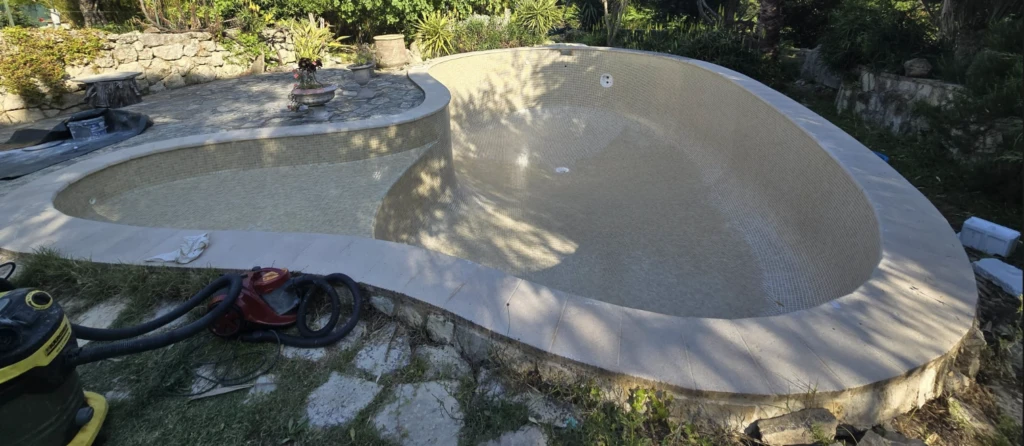
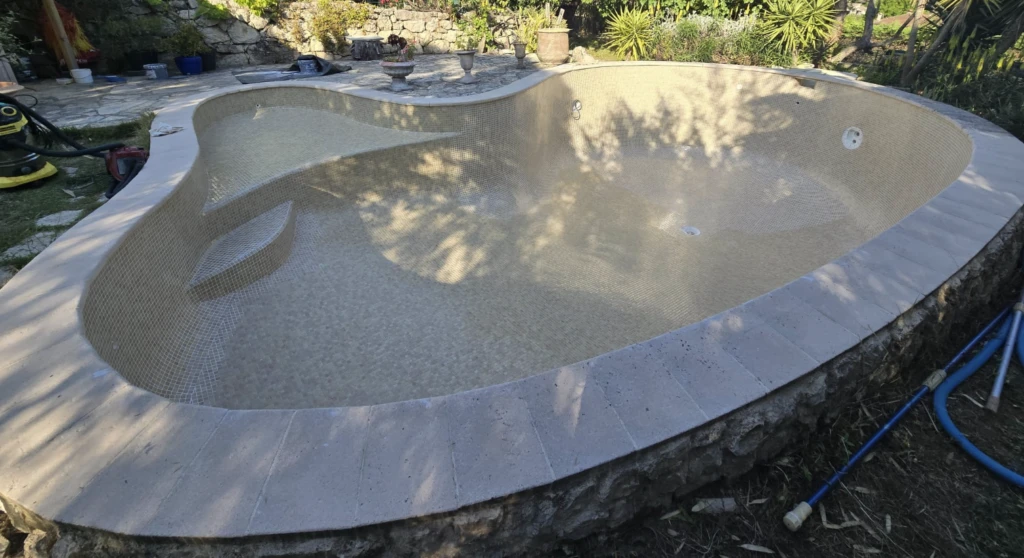

The famous "calisson" (named after the diamond-shaped Provençal sweet): it looks beautiful once grouted.

Last day
The reward for about ten days of effort: it's clean, beautiful to look at, and very pleasant to the touch when you walk on the grouted tesserae.


Now comes the waiting: drying time, before filling. We can't wait to fill it and discover the colour; it will surely be splendid. Patience, patience!
Meanwhile, a few finishing touches: refitting the counter-current swimming jet, sealing the robot connection through the wall, putting the skimmer's non-return valve back in place, and repairing the light.


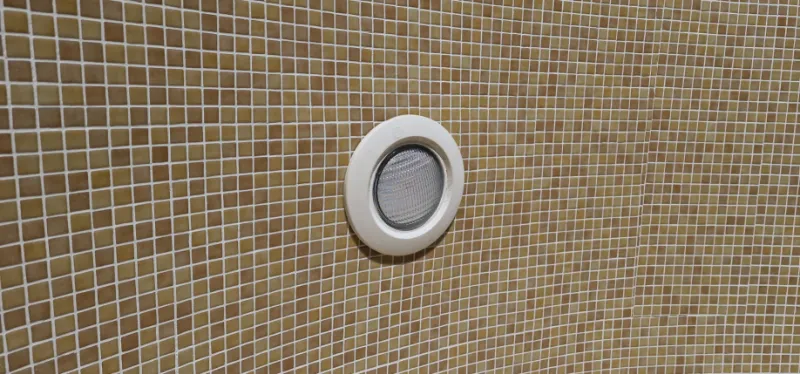
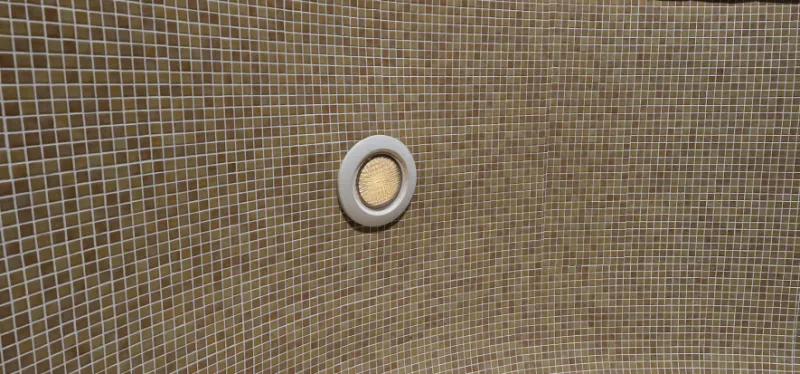

For those who want to know how a pool is built from start to finish, see this article: Swimming pool project.
Filling the pool
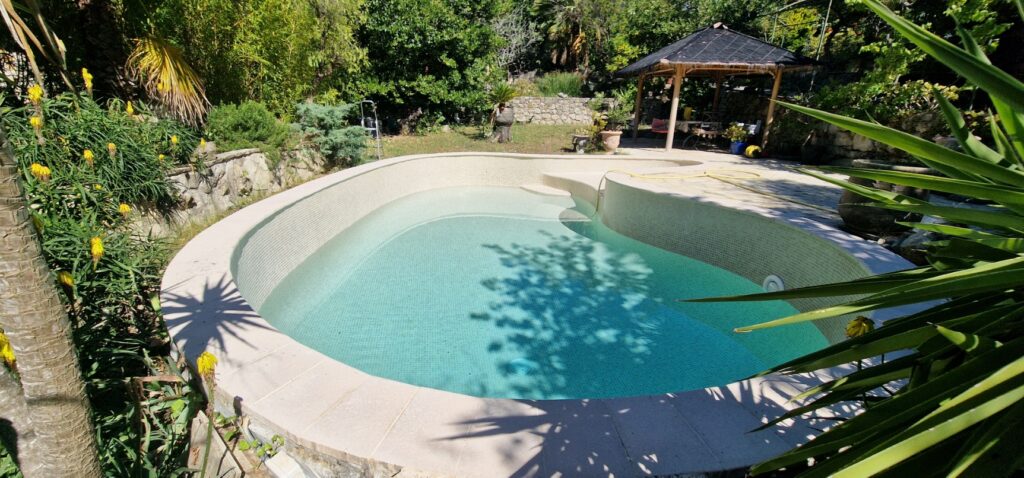
Filling is well under way and the colour is becoming clearer: a beautiful lagoon blue-green.
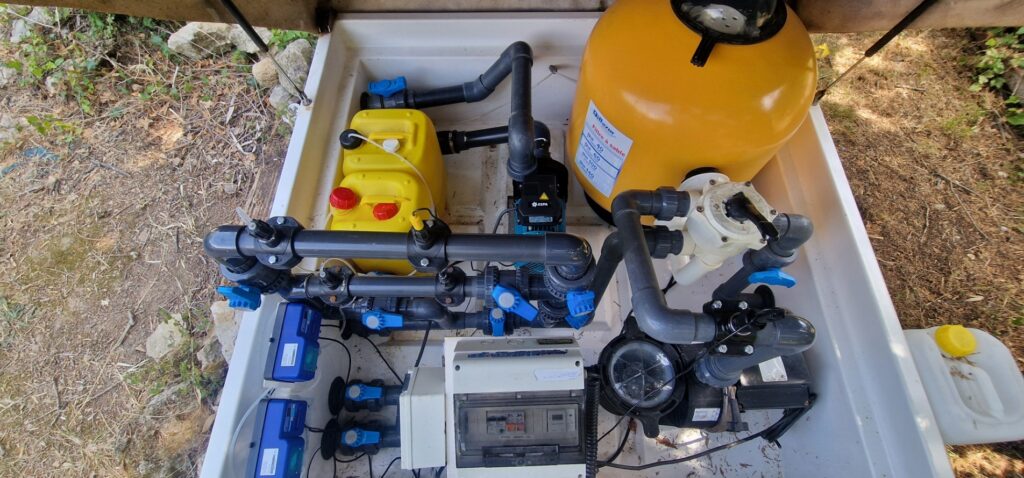
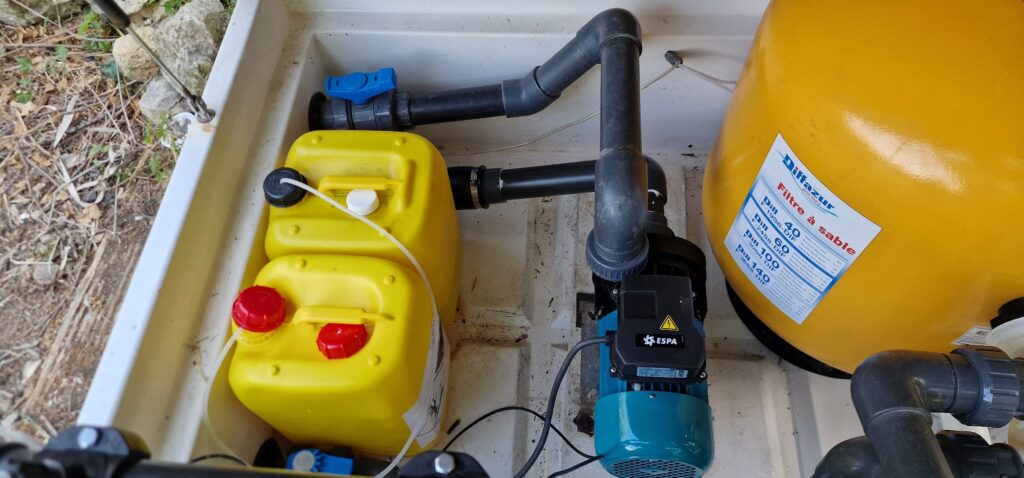
In the meantime, we take the opportunity to restore and disinfect the filtration system and add a redox/chlorine controller.
Originally, the filtration/disinfection system was based on a sand filter, local ozone disinfection and a pH controller. Hydraulically, there was a double bypass: a probe and a dispenser for the pH, and for the ozone, a venturi that injected the oxidant directly into the water.
The main problem with this system was that ozone-based disinfection is very unstable and very local: once the water left the filtration area, it was no longer disinfected at all. So the pool was often green and the walls were browned by algae. It was extremely difficult to disinfect the pool, and the whole system was gradually becoming contaminated.
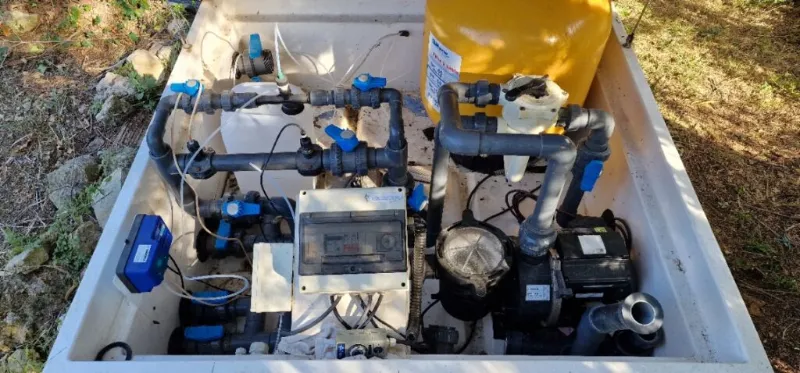
Before
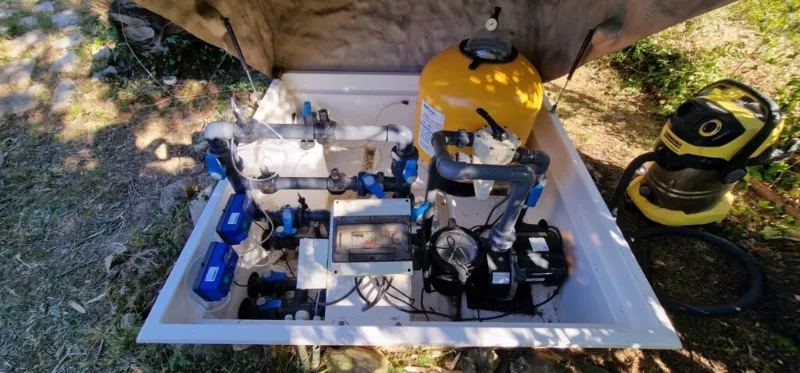
After
The solution focused on two things. The first was to make sure the sand filter was fully disinfected, by dismantling it completely, recycling the sand and replacing it with glass media.
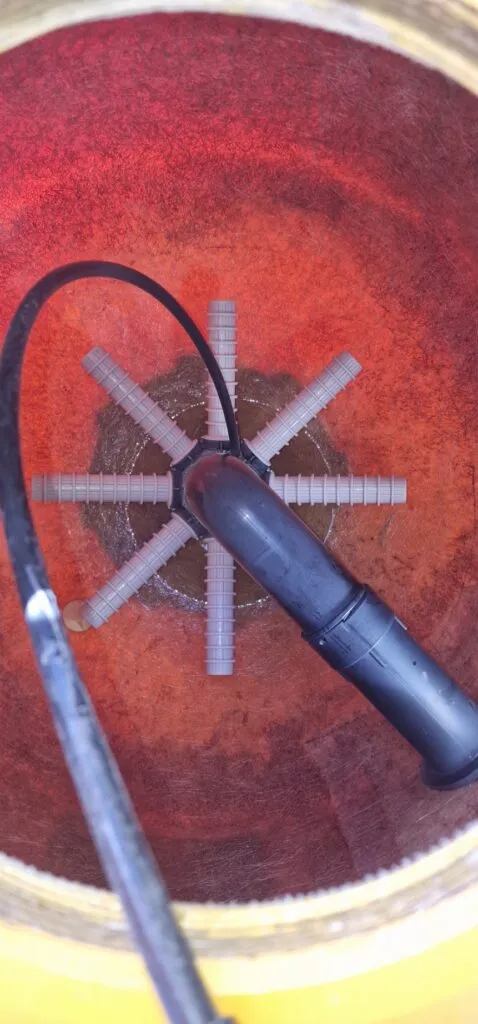
Filter emptied and disinfected, and the lateral screen cleaned.
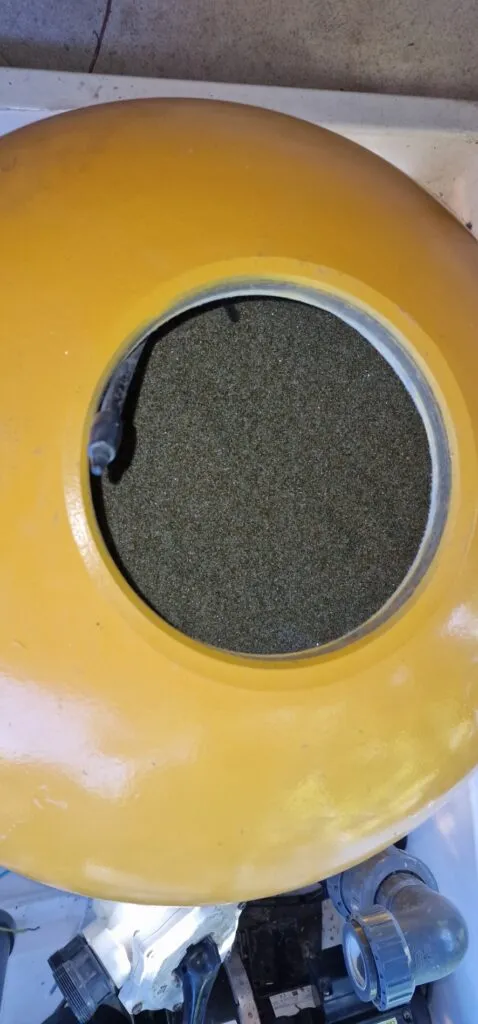
Adding the fine glass beads that do the filtering.
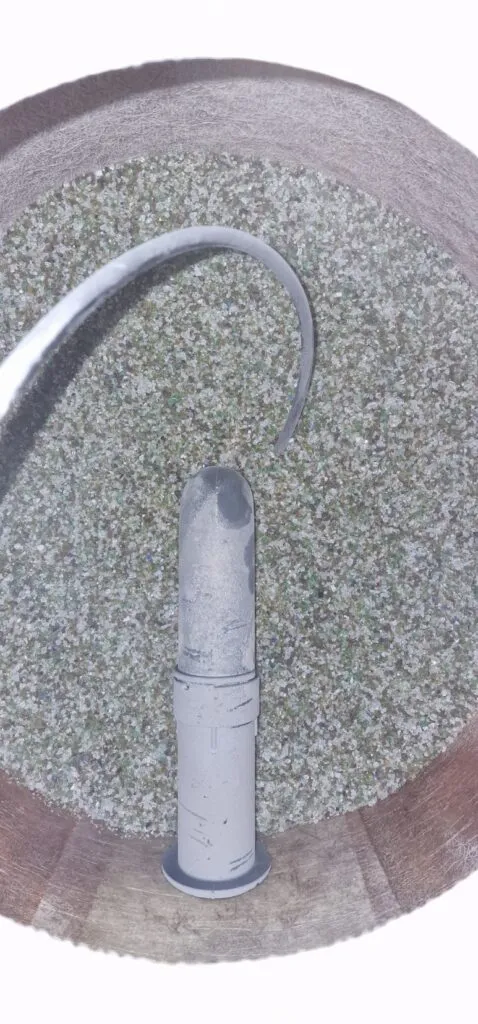
Large glass beads placed at the bottom against the lateral screen, so that fine grains don't get back into the pool.
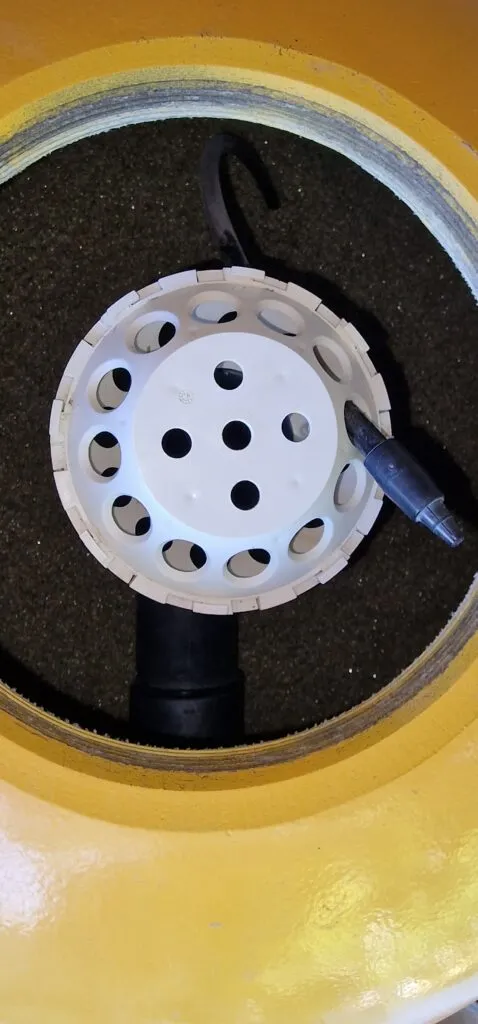
Refitting the diffuser.
The second was to add a redox dispenser that injects free chlorine to maintain about one milligram per litre (1 mg/L). Now the entire installation (pool + filtration) is covered for disinfection.
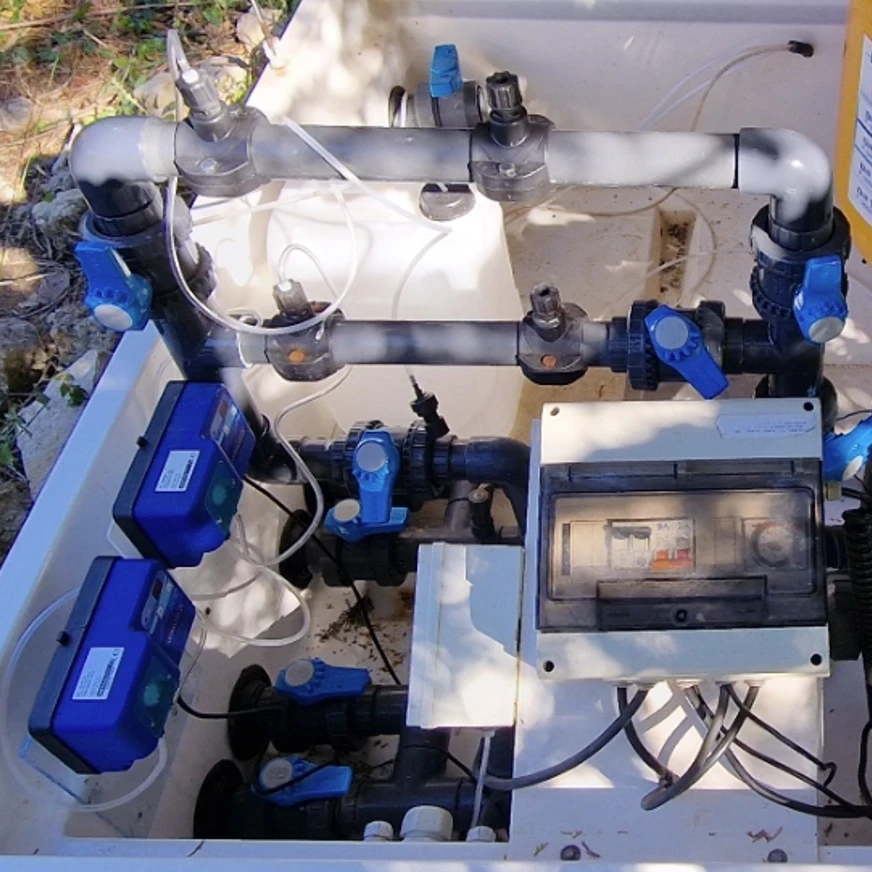
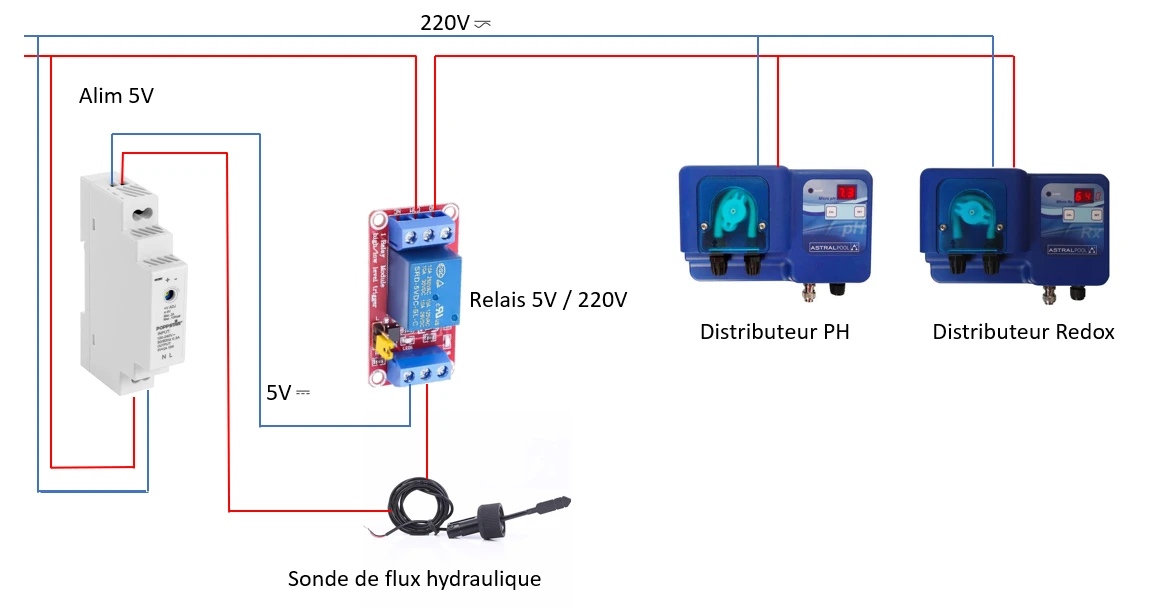
The pump currently installed is a variable-speed pump with two functions. The first is filtering the pool water at high speed; the second is running at low speed, which creates a constant current that automatically cleans the surface by moving debris towards the skimmer. This type of pump has a built-in timer that isn't connected, and can't be connected, to the rest of the system. To make up for this, we go the hydraulic route, with a flow sensor that controls the pH and chlorine regulators so they only operate when the pump motor is running. This is very important, so as not to damage the pH and redox regulators' probes when the motor isn't running. The wiring diagram below shows a staged system, low and high voltage, which ensures electrical safety and isolation.
Installation of a circulation pump that speeds up the water for counter-current swimming.
Right, on to the result. After a long fill, we're happy with the result: the colour is there. Perhaps not green enough according to the customer, but you'd have needed more yellow to get green. Still, it's not bad at all.